
Last Updated on October 15, 2026 by recipeinspire
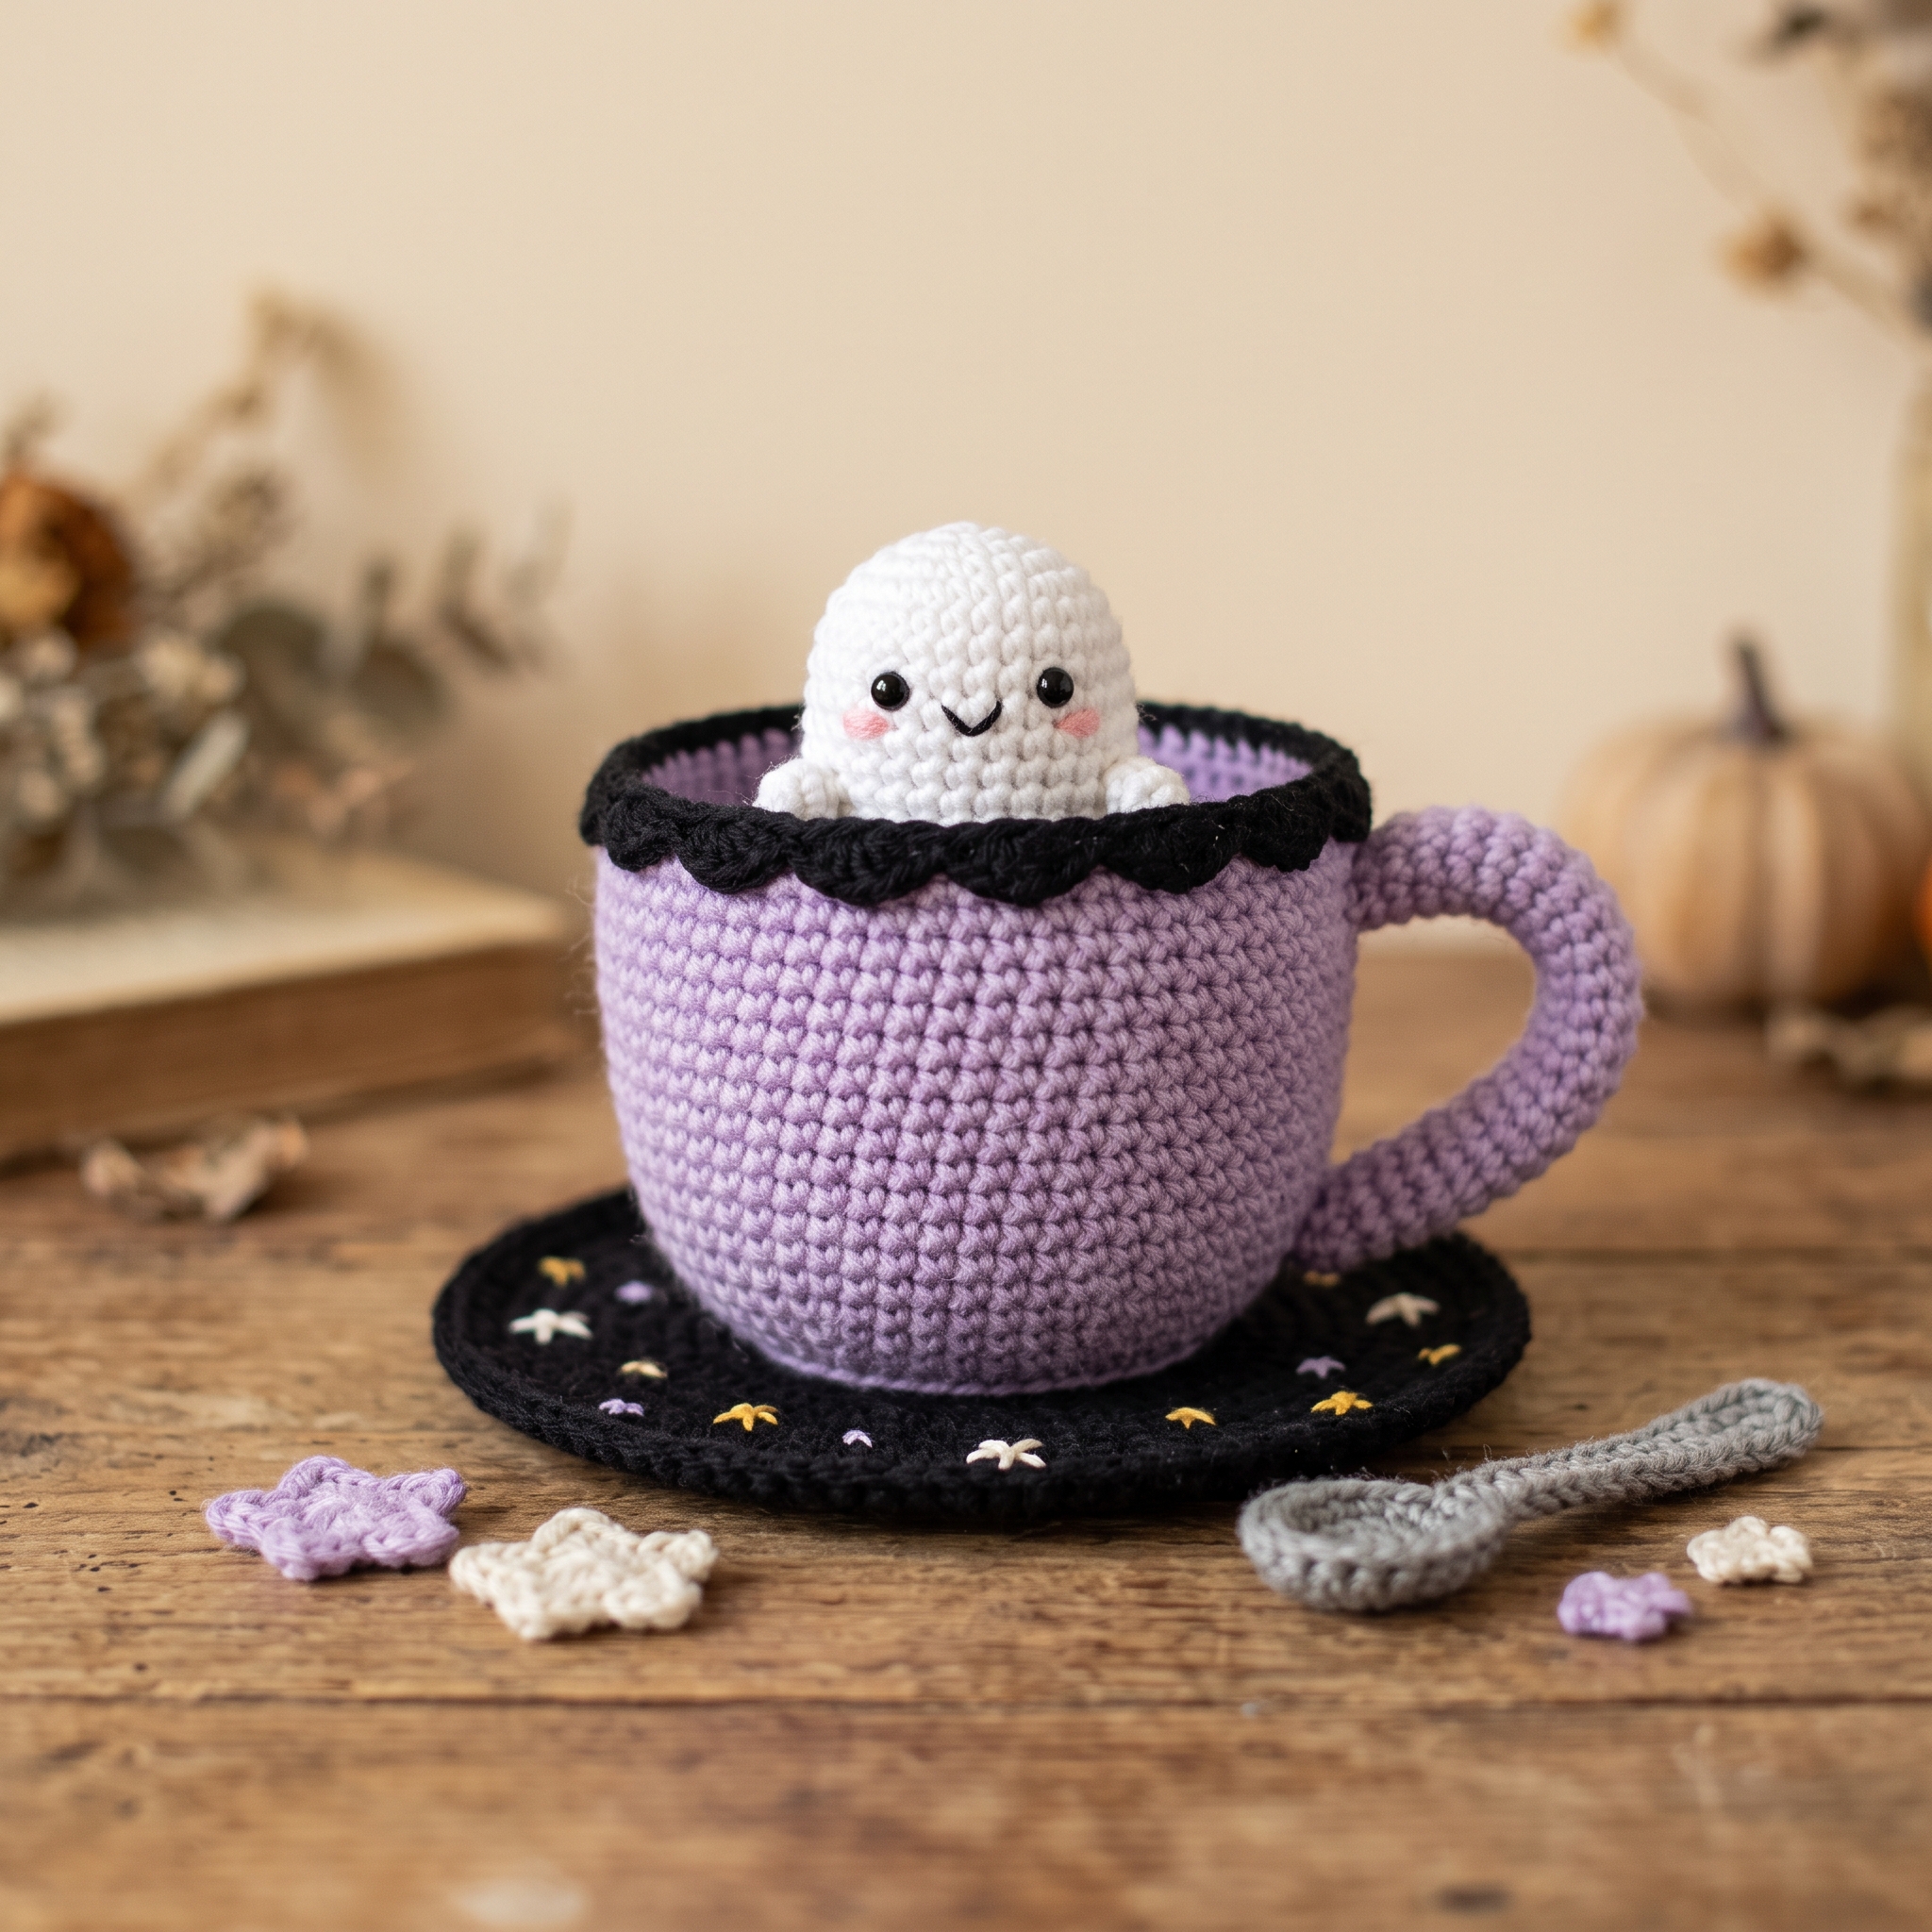
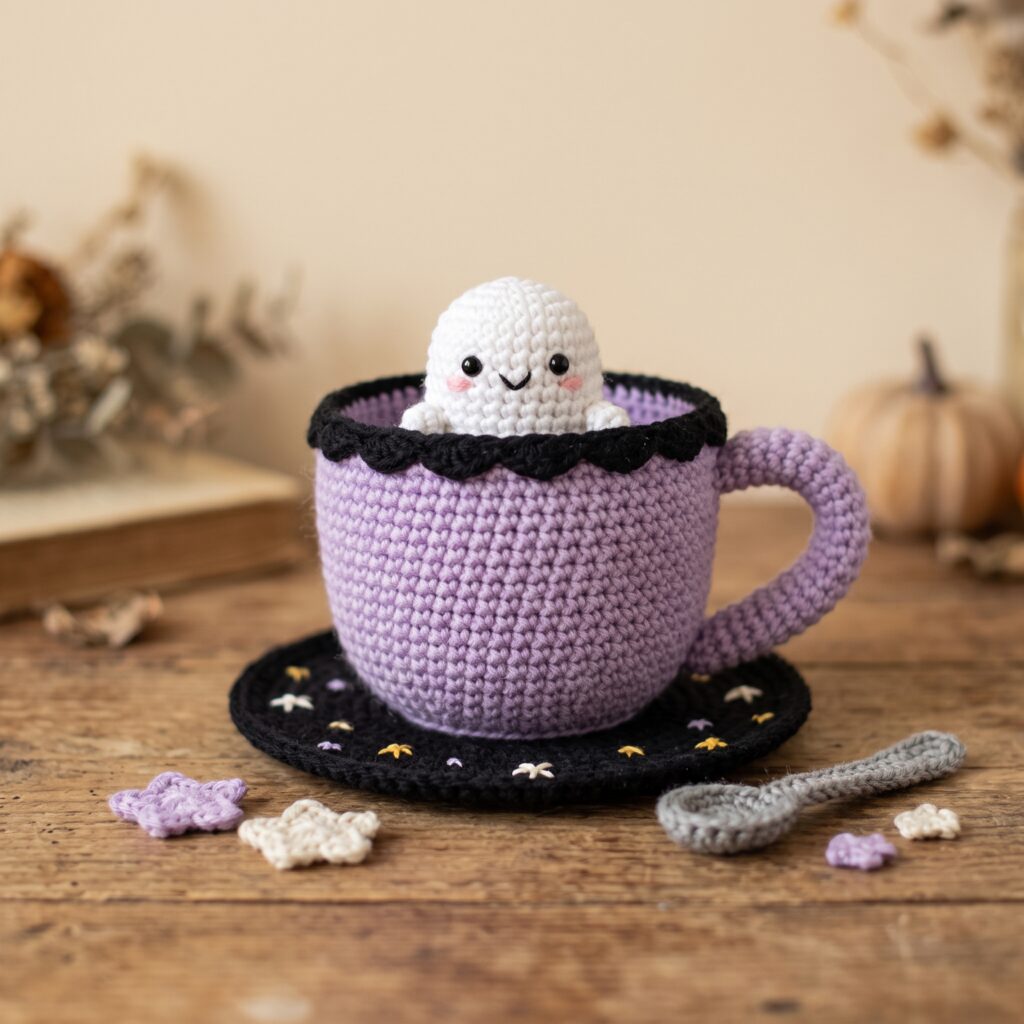
You can make this Haunted Teacup Crochet Pattern by working a firm cup and saucer in the round, then sewing a tiny stuffed ghost onto a crocheted “tea” insert. The finished piece is a Halloween amigurumi decoration: your ghost peeks above the rim while the cup sits securely on its saucer.
Use a tight single crochet fabric to help the cup hold its shape. You can give the ghost a shy smile or a startled little “boo” before you stitch the scene together.
What Do You Need to Make the Teacup and Ghost?
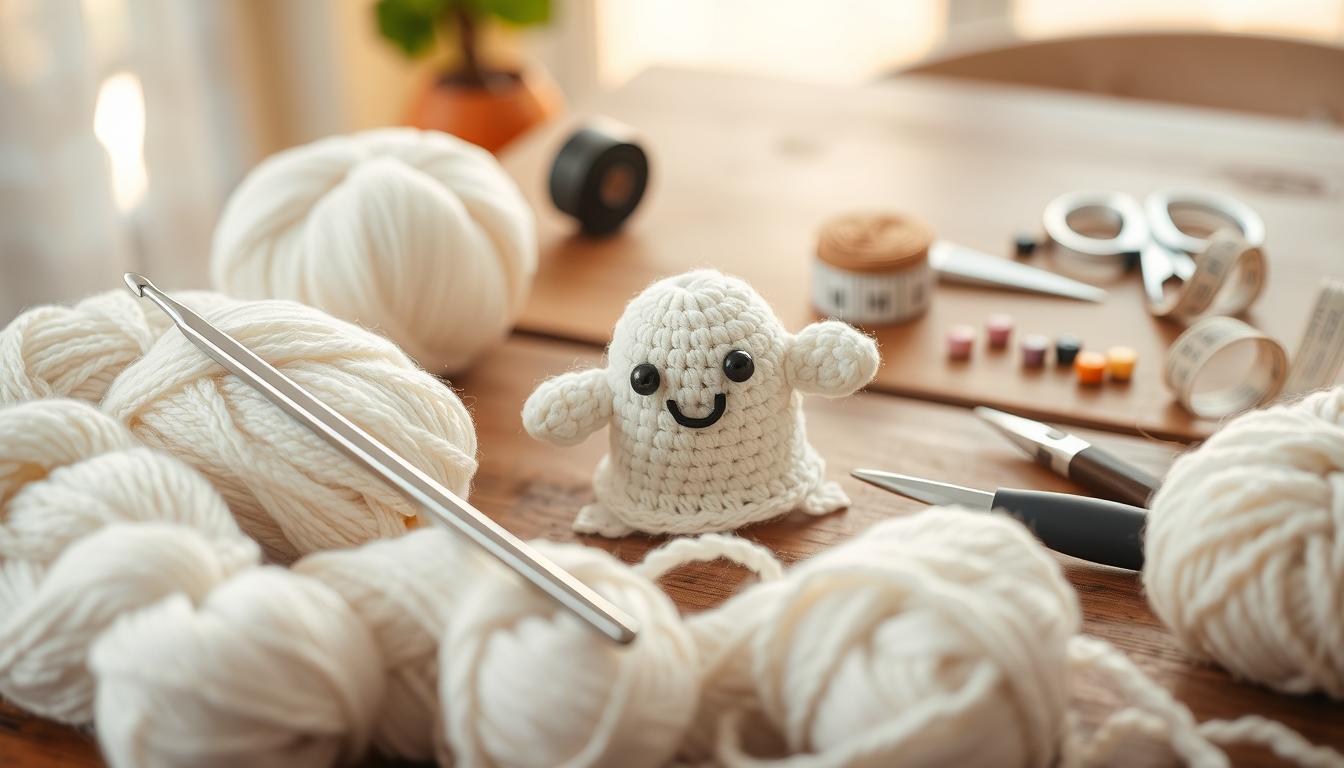
You need worsted weight yarn, a 3.5 mm (E/4) hook, stuffing, and a few basic finishing supplies. This hook makes a firm fabric for the display piece; if you see gaps around the stuffing, use a smaller hook.
Worsted weight yarn in your cup color, saucer color, white for the ghost, and brown for the tea
Black embroidery floss or a short length of yarn for the face
3.5 mm (E/4) crochet hook
Stitch marker, yarn needle, scissors, and polyester stuffing
Optional: a circle of plastic canvas cut slightly smaller than the cup base
Use US stitch terms throughout: ch means chain, sl st means slip stitch, sc means single crochet, inc means 2 sc in one stitch, and dec means a single crochet decrease. BLO and FLO mean work through the back or front loop only. Work the round pieces in continuous spirals, mark the first stitch, and move your marker after each round.
How Do You Crochet the Teacup and Saucer?
Start the cup with a flat base, build its sides, then make a separate tea insert to close the top. This free crochet pattern gives you stitch counts in brackets so you can check each round before moving on.
Cup, in your chosen cup color
Rnd 1: Work 6 sc in a magic ring. [6]
Rnd 2: Inc in each stitch. [12]
Rnd 3: (Sc 1, inc) 6 times. [18]
Rnd 4: (Sc 2, inc) 6 times. [24]
Rnd 5: (Sc 3, inc) 6 times. [30]
Rnd 6: (Sc 4, inc) 6 times. [36]
Rnd 7: BLO sc around. [36]
Rnds 8–12: Sc around. [36 each round]
Rnd 13: (Sc 5, inc) 6 times. [42]
Rnds 14–16: Sc around. [42 each round] Sl st in the next stitch and fasten off.
Saucer, in your chosen saucer color: Repeat cup rounds 1–6. Continue with rnd 7: (sc 5, inc) 6 times [42]; rnd 8: (sc 6, inc) 6 times [48]; rnd 9: (sc 7, inc) 6 times [54]; rnd 10: BLO sc around [54]; rnd 11: sc around [54]. Sl st in the next stitch and fasten off. Gently flatten the center with your fingers.
Tea insert, in brown: Repeat cup rounds 1–6, then work (sc 5, inc) 6 times for rnd 7 [42]. Fasten off, leaving a long tail for sewing. The insert will meet the cup’s 42-stitch rim.
How Do You Crochet the Ghost?
Your amigurumi ghost starts at the rounded head and widens into a little wavy-looking hem. Keep your stitches snug so the stuffing stays behind the white yarn.
Ghost, in white
Rnd 1: Work 6 sc in a magic ring. [6]
Rnd 2: Inc in each stitch. [12]
Rnd 3: (Sc 1, inc) 6 times. [18]
Rnds 4–7: Sc around. [18 each round]
Rnd 8: (Sc 4, dec) 3 times. [15]
Rnd 9: Sc around. [15]
Rnd 10: (Sc 3, dec) 3 times. [12]
Rnd 11: Sc around. [12]
Rnd 12: FLO (sc 1, inc) 6 times. [18]
Rnd 13: (Sc 2, inc) 6 times. [24]
Rnd 14: Sc around. [24] Sl st in the next stitch and fasten off, leaving a long sewing tail.
Embroider two small eyes across rounds 5–6, about three stitches apart. Add a curved mouth for a cheerful crochet ghost, a single vertical stitch for a surprised boo ghost, or leave the mouth off for a quiet expression. Stuff the head and narrow body lightly; you will secure the open hem to the tea insert during assembly.
How Do You Assemble and Personalize the Scene?
Sew the ghost to the tea insert first, close the cup over light stuffing, then anchor its base to the saucer. Center the ghost on the brown circle and sew through its 24-stitch hem and the insert beneath it. Add a little more stuffing before you close the last gap.
For a stable cup, set the optional plastic-canvas circle inside its base, keeping its edges away from your sewing path. Add a modest amount of stuffing beneath the tea insert, then sew the insert’s 42 stitches to the cup’s 42-stitch rim. Keep the top level as you go.
Make the handle by chaining 17 in the cup color. Sc in the second chain from your hook and across [16]; ch 1 and turn, then work 2 more rows of 16 sc. Fasten off with a sewing tail at each end. Curve the strip outward and sew its ends to the same side of the cup around rounds 9 and 15. Sew the cup base to the saucer around their matching 36-stitch rounds.
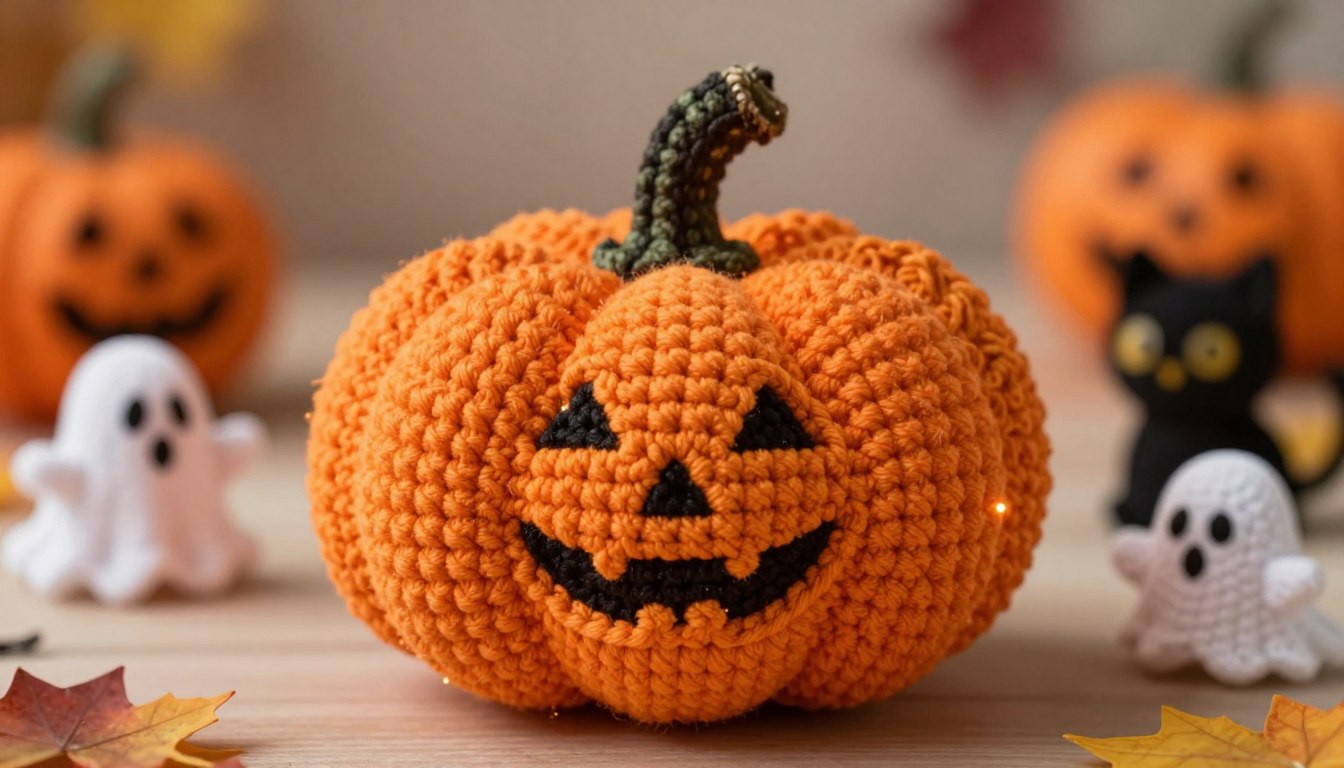
You can tuck a small amigurumi pumpkin beside the cup or make several ghosts for an amigurumi ghost family. A flat ghost coaster also works beneath the saucer; keep any extra pieces clear of the handle so your cup remains easy to position.
How Can You Display Your Finished Teacup?
Place your finished teacup on a shelf or mantel where the ghost’s face sits above the rim. The saucer gives the cup a defined base among your Halloween decorations, and a firm stitch tension helps the handle keep its curve.
Treat the piece as a stuffed decoration, not a functional drinking vessel. Keep it dry and away from candles or hot surfaces. If you want a larger grouping, pair it with small makes from other halloween crochet patterns while leaving enough space for the cup’s silhouette to show.
A Little Haunting for Your Halloween Display
You now have a complete cup, saucer, and tiny ghost to arrange as one display piece. Check that the cup sits flat and the tea insert stays level; then turn your ghost toward the room so its embroidered expression is easy to see.