Last Updated on October 11, 2026 by recipeinspire
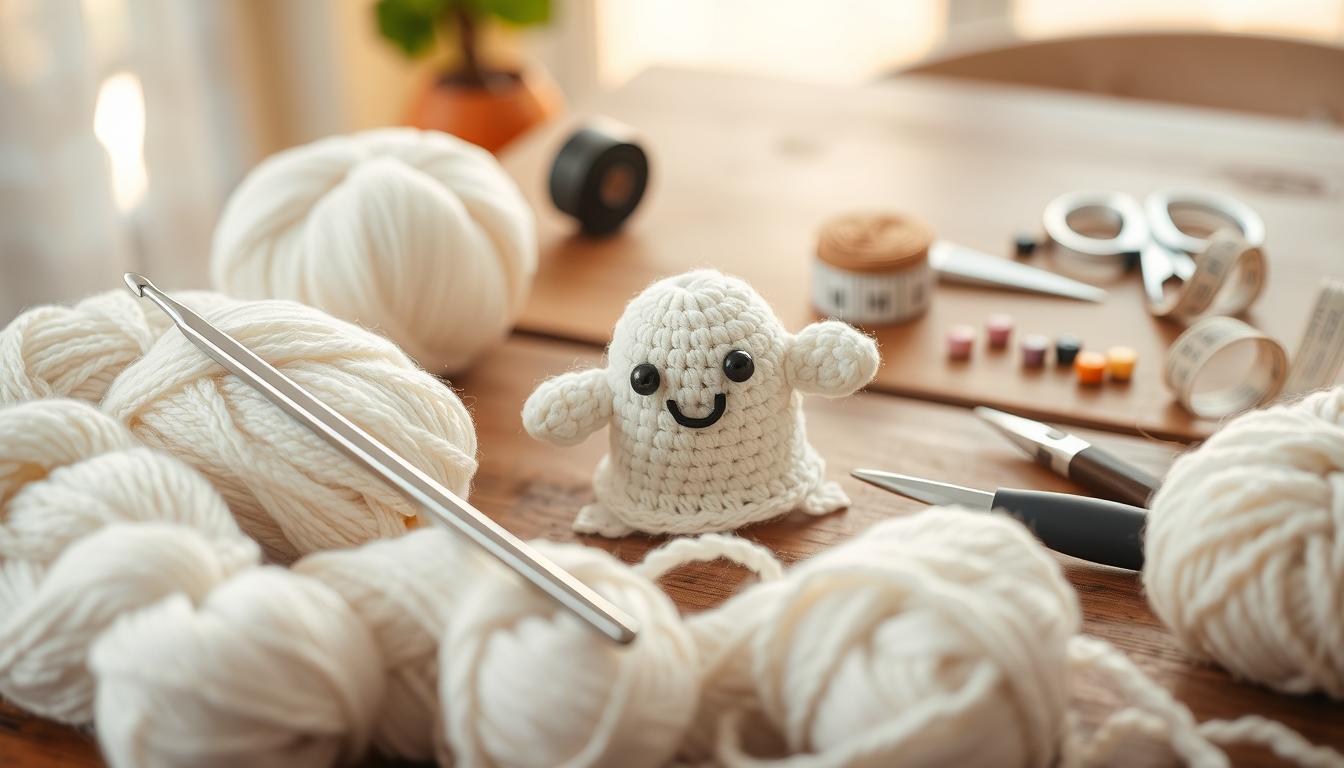
Want to add a spooky touch to your home this October? Handmade decorations offer a fun way to celebrate the season. This Crochet Ghost Pattern provides a simple festive DIY project.
Beginners and skilled crafters can enjoy this easy crochet ghost. It is one of the most rewarding quick Halloween crafts you can finish in one afternoon.
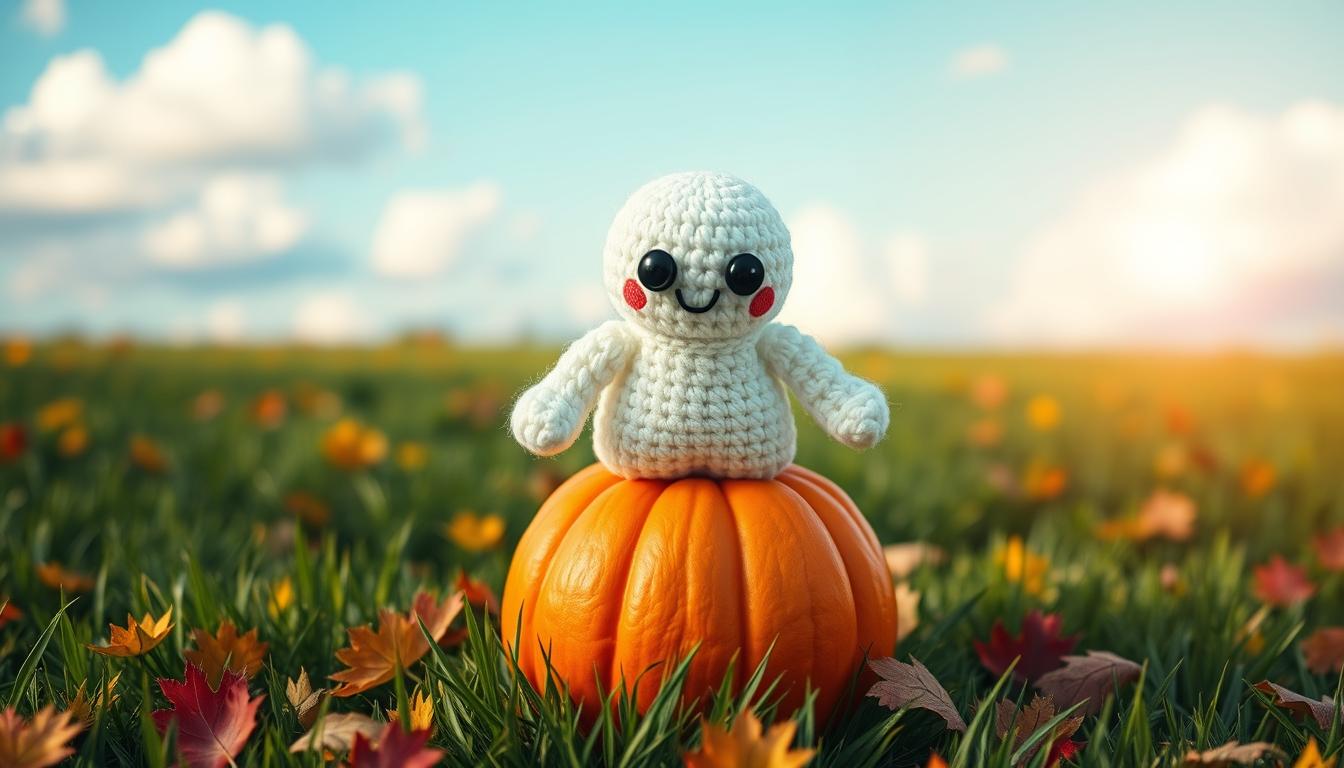
This guide explains each step of the process. You will learn about materials, basic stitches, and shaping techniques for your spectral friend. You will also learn to add facial details and display your ghost at home.
Key Takeaways
- Learn how to create a festive decoration in under an hour.
- Master basic stitches suitable for beginners and experts alike.
- Discover tips for adding personality with unique facial expressions.
- Explore creative ways to display your finished work around the house.
- Follow simple care instructions to keep your handmade items looking great.
Get Ready to Make This Crochet Ghost Pattern
Handmade decorations add charm to your home, especially when a little ghost is simple to make. Whether you are an experienced crafter or new to crochet, this design offers a relaxing experience. It builds confidence as you prepare for spooky season.
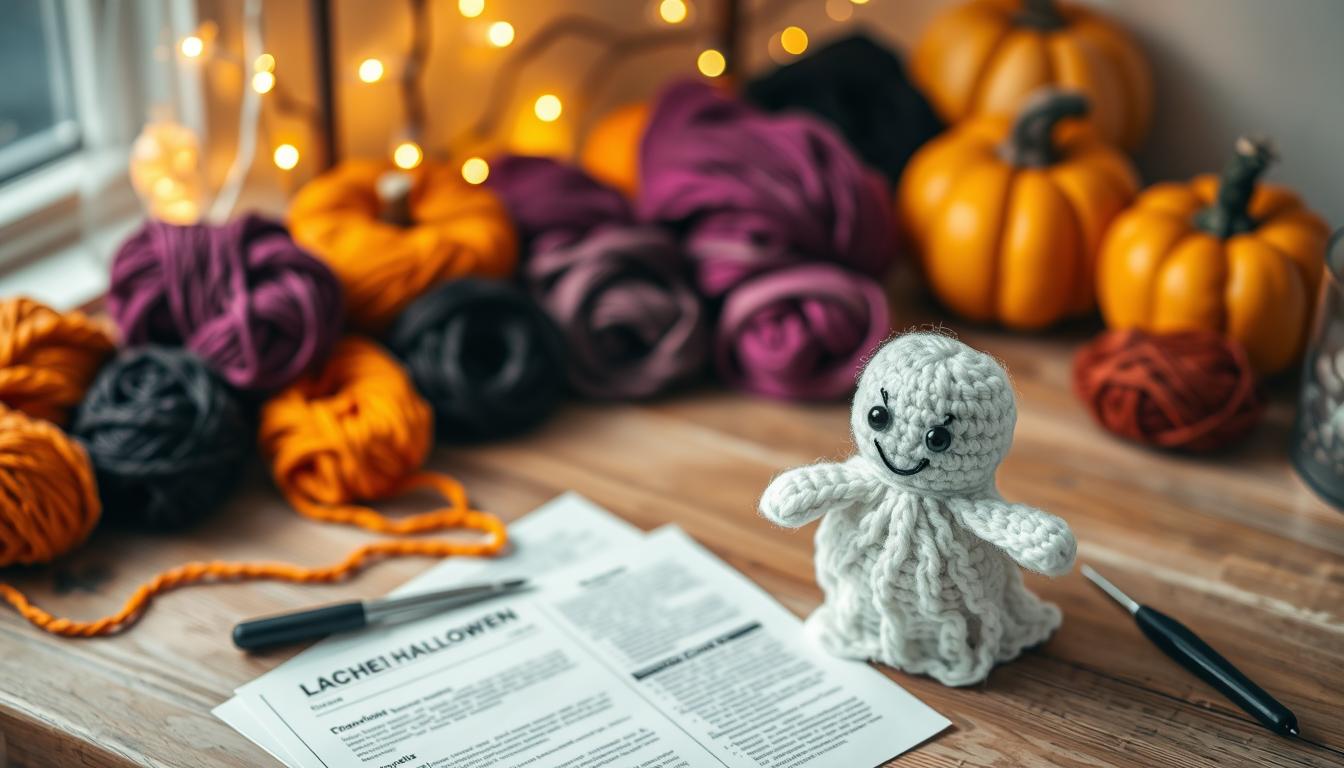
What Makes This Ghost Crochet Project Beginner-Friendly
This beginner crochet project feels simple and rewarding. You will use basic stitches that are easy to learn and repeat. Simple shaping shows you how 3D objects take form.
The ghost uses little yarn and needs no complex color changes. It is a fantastic way to practice tension and stitch consistency without difficult details or techniques.
Finished Size, Skill Level, and Estimated Time
Before you begin, know what to expect from the project. You can finish it in one sitting, making it ideal for a busy weekend afternoon.
| Category | Details |
|---|---|
| Skill Level | Beginner |
| Estimated Time | 45 – 60 Minutes |
| Finished Height | Approximately 4 Inches |
How This Ghost Fits Into Halloween Crochet Decor
Adding this ghost to your Halloween crochet decor creates a festive atmosphere. These small figures look charming on a mantel, bookshelf, or inside a centerpiece.
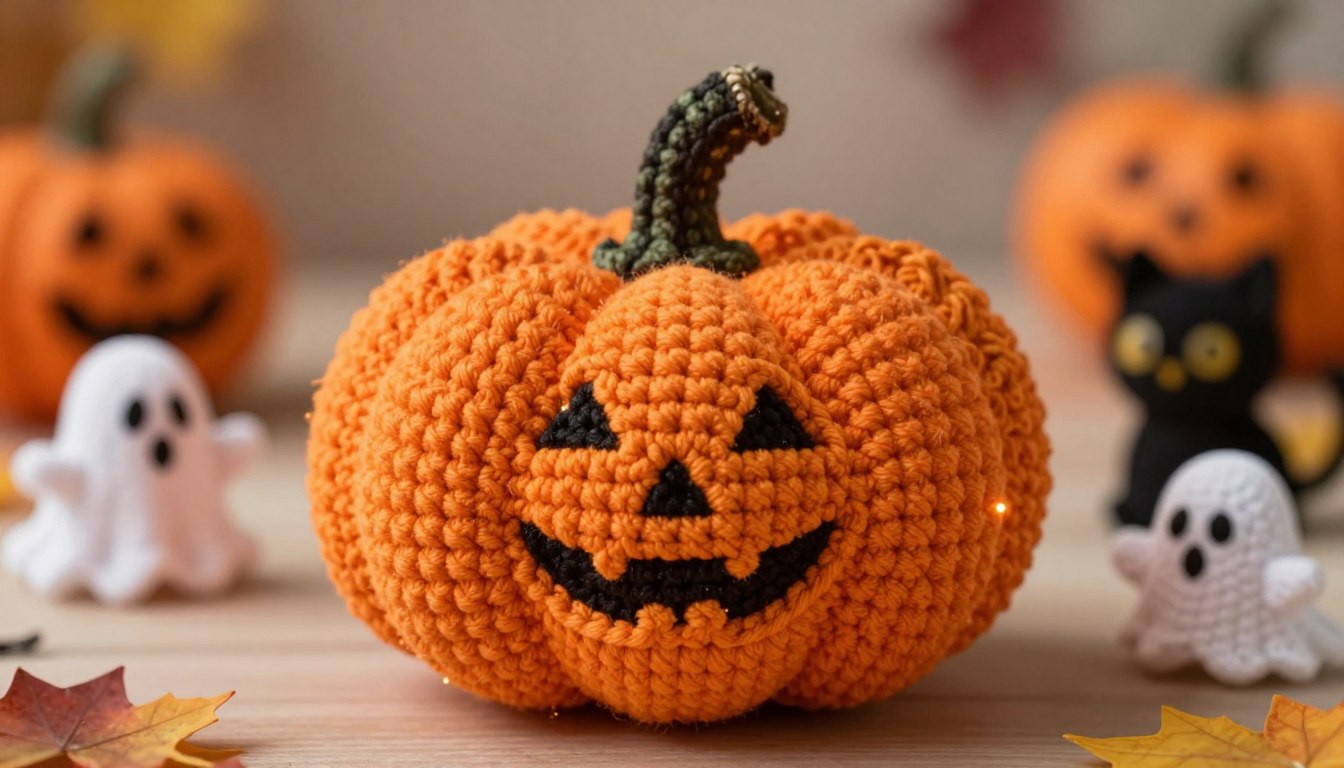
Pair your finished ghost with a crochet halloween pumpkin for a cohesive seasonal display. The soft white ghost and vibrant orange of a crochet halloween pumpkin add visual interest to any room. This beginner crochet project is a versatile addition to your holiday collection.
Gather Yarn, Tools, and Basic Crochet Supplies
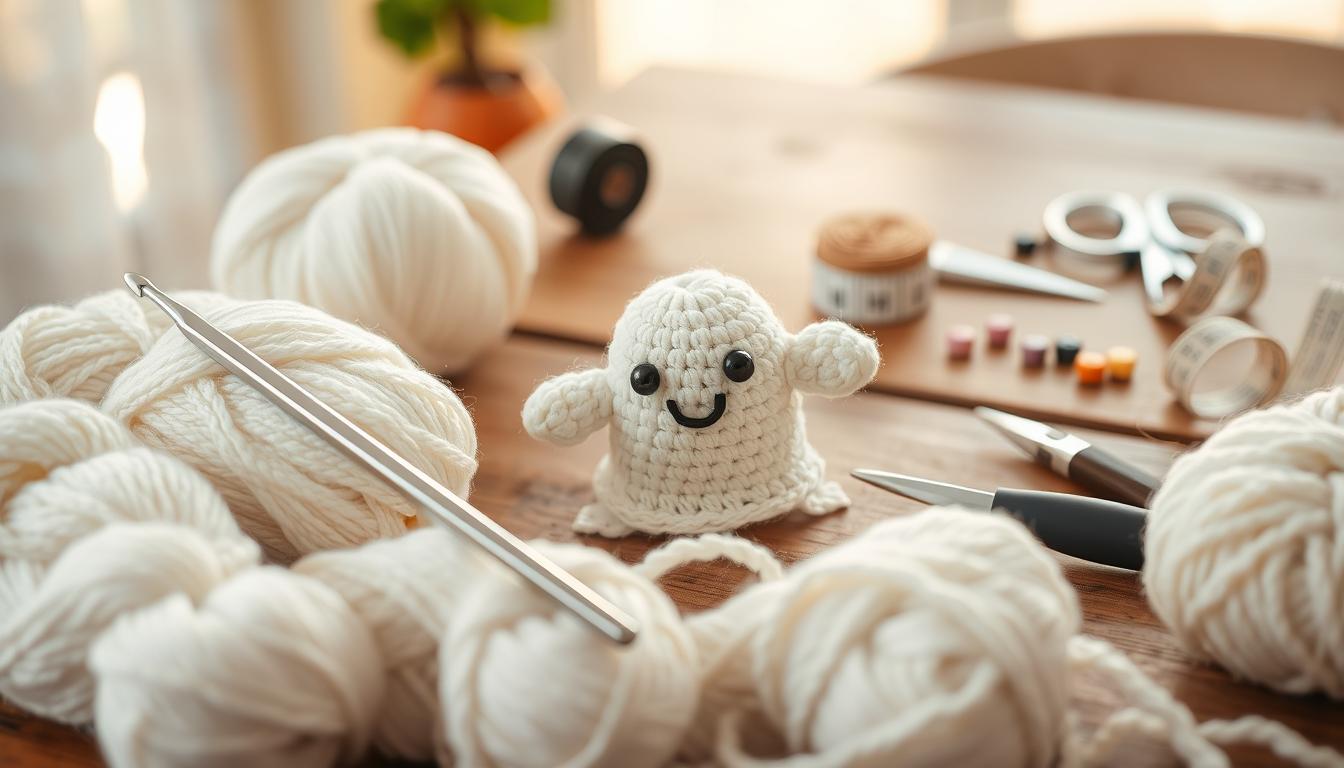
Before stitching, gather the right crochet ghost materials. Preparing your supplies helps you keep a steady rhythm throughout the project.
Choosing White Yarn and Accent Colors
For a classic look, choose soft, medium-weight acrylic or cotton yarn in bright white. These crochet yarn supplies are durable and beginner-friendly.
Add small amounts of black or orange yarn for personality. Use these colors for a spooky face or pair your ghost with a diy crochet pumpkin.
Hook Size, Stitch Marker, Tapestry Needle, and Fiberfill
Choose a crochet hook slightly smaller than the size listed on your yarn label. This keeps stitches tight and stops stuffing from showing.
You also need a stitch marker to track your rounds. Use a tapestry needle for weaving ends, and add polyester fiberfill for a plump, rounded ghost.
Optional Materials for a Hanging or Freestanding Ghost
Decide whether your ghost will hang from a ceiling or sit on a shelf. For hanging, keep clear fishing line or decorative twine nearby.
For a freestanding decoration, add a small weight, such as a plastic bead or clean stone. It will help your ghost stand upright on any flat surface.
Using Safety Eyes, Embroidery, or Felt Features
Create a face with plastic safety eyes for a polished finish. You can also stitch a friendly smile with black embroidery floss or glue black felt shapes onto the surface.
Safety Considerations for Children and Pets
If young children or curious pets will use the project, avoid plastic safety eyes. Small parts can detach over time and create a choking hazard.
Instead, use embroidered features or fabric paint for the face. This keeps your Halloween decor safe for everyone at home.
| Supply Item | Purpose | Recommendation |
|---|---|---|
| White Yarn | Main Body | Medium Weight Acrylic |
| Crochet Hook | Stitching | Size G (4.0mm) |
| Fiberfill | Stuffing | Polyester Fiber |
| Stitch Marker | Tracking | Locking Plastic |
Learn the Crochet Stitches and Techniques
Building your ghost starts with basic stitches used in many amigurumi projects. Like a pumpkin crochet tutorial, this pattern uses simple movements to make a rounded, three-dimensional shape.
Working a Magic Ring for the Ghost’s Head
The magic ring crochet technique is a trusted way to start circular projects. It lets you tighten the center, leaving no visible hole atop your ghost’s head.
Using Single Crochet, Increases, and Decreases
The body mainly uses single crochet increases decreases. Increases widen the piece for the rounded head, while decreases shape the base.
Keeping Round Counts and Tension Consistent
Even tension helps create a smooth, uniform finish. Loose stitches may show the stuffing, while tight stitches can make the fabric stiff.
- Keep your yarn tension steady throughout the entire project.
- Count your stitches at the end of every round to ensure accuracy.
- Use a consistent hook size to maintain the intended dimensions.
How to Mark the First Stitch of Each Round
Since you work in a continuous spiral, losing your place is easy. Use a stitch marker to identify the first stitch of every round.
How to Fix Loose Stitches and Uneven Shaping
If you notice a loose stitch, gently pull the working yarn to tighten the loop. If the shape looks uneven, check your stitch count for missed increases or decreases.
Follow the Step-by-Step Crochet Ghost Pattern
A few simple steps and basic stitches can bring a crochet ghost to life. Whether making one piece or a collection, this Crochet Ghost Pattern gives a consistent, professional look for your holiday display.
Step One: Crochet the Rounded Ghost Body
Build the Head and Upper Body in Continuous Rounds
Start with a magic ring for the top of the head. Work single crochet stitches in continuous rounds, increasing evenly to shape the crochet ghost body.
Create the Lower Body and Wavy Ghost Hem
Continue downward and increase stitches to widen the base. For the wavy hem, alternate double crochet and slip stitches in the final round. This creates a soft, scalloped edge.
Step Two: Add Stuffing and Close the Opening
Distribute Fiberfill Without Overstretching the Fabric
Gently place small pieces of fiberfill inside the hollow center of your crochet stuffed decoration. Avoid overstuffing, which can stretch stitches and expose the filling.
Weave in the Tail for a Neat Finish
When it feels firm enough, use a tapestry needle to sew the remaining stitches closed. Weave the yarn tail back and forth inside for a clean, invisible finish.
Step Three: Make and Attach the Ghost Arms
Make two small, simple tubes from the same white yarn for the arms. Sew them firmly to the body, slightly forward, for a friendly, reaching appearance.
Step Four: Shape the Face and Secure Every Detail
Use black embroidery thread to stitch simple oval eyes onto the head. If you are also making a crochet pumpkin pattern, use similar yarn weights. This keeps your seasonal display cohesive and balanced.
| Project Type | Primary Shape | Key Technique |
|---|---|---|
| Ghost | Rounded/Conical | Continuous Rounds |
| Pumpkin | Spherical | Surface Slip Stitching |
| Decoration | Stuffed | Fiberfill Shaping |
Finish the Ghost With Spooky Handmade Details
A few creative details can turn a simple crochet shape into a character. With handmade crochet details, you can create standout seasonal decor.
Embroidering a Friendly or Frightening Expression
Your ghost’s face sets its personality. Use black embroidery floss to stitch simple eyes and a mouth directly onto the head.
- For a friendly look, use wide-set, circular eyes and a small, curved smile.
- For a frightening appearance, try narrow, slanted eyes and a jagged, open mouth.
These small changes customize your spooky crochet decoration without changing the basic pattern.
Adding a Small Crochet Bow, Hat, or Scarf
Accessories are excellent halloween craft ideas that add charm to finished projects. A tiny neck bow or miniature witch hat can make your ghost unique.
Try these simple additions to personalize your project:
- A scrap of orange yarn tied as a festive scarf.
- A small, crocheted top hat for a sophisticated ghost.
- A tiny bow made from ribbon or leftover yarn.
Creating a Hanging Loop for Halloween Displays
To hang your ghost, attach matching yarn or clear fishing line to the top of its head. Secure it by weaving the ends inside before finishing the stuffing.
Choosing a Safe Placement for Mantels, Shelves, and Doorways
When displaying your handmade crochet details, consider the setting. Keep your spooky crochet decoration away from open flames or heat sources, such as mantel candles.
Place your halloween craft ideas on stable surfaces, away from pets and high-traffic areas. Shelves and doorways work well when ghosts stay secure and away from edges.
Adapt the Pattern for Halloween Crochet Decor
Your handmade ghost starts a wide range of seasonal crochet decorations. Change the yarn weight or hook size to fit any space.
Making Mini Ghosts for Garlands and Party Favors
Make tiny ghosts with thinner sport or fingering weight yarn and a smaller hook. These charming miniatures work well in festive garlands across your mantel.
You can also give these small figures as unique party favors. Their compact size makes them quick to crochet, so you can make many within a few hours.
Scaling the Design Into a Larger Stuffed Decoration
For a bold statement piece, use bulky or super-bulky yarn with a larger hook. This change creates a substantial stuffed decoration for a bookshelf or entryway table.
Add more fiberfill to keep the larger ghost firm. It makes an excellent focal point for your spooky home styling.
Combining Ghosts With a Crochet Halloween Pumpkin
Create a cohesive display by pairing your ghosts with a crochet Halloween pumpkin. These classic icons add depth and texture.
Pairing the Ghost With a Crochet Pumpkin Pattern
Choose a pumpkin pattern that matches your ghost’s scale. For a small ghost, choose a pumpkin about the same height, keeping the halloween crochet decor balanced.
Using a Pumpkin Crochet Tutorial for a Coordinated Display
Follow a pumpkin crochet tutorial so your stitches and tension match the ghost. Use the same yarn brand for both pieces to unite their colors and textures, creating a professional finish for your seasonal crochet decorations.
Care for and Display Your Crocheted Ghost
Proper maintenance helps your handmade Halloween decorations last for many years. A few finishing touches can make spooky projects look professional. Basic crochet decoration care keeps them fresh every October.
Blocking and Shaping the Finished Decoration
Blocking helps your ghost keep its intended shape. Gently steam the piece, or pin it into a clean silhouette while it dries. This process smooths uneven stitches and helps the ghost stand upright on your shelf.
Cleaning, Storing, and Protecting Handmade Halloween Decorations
When the season ends, clean your items by hand with mild soap and cool water. Let each piece air dry completely before storage to prevent mold or mildew. Store your handmade Halloween decorations in a breathable fabric bag or plastic bin with silica packets.
Arranging Ghosts With Crocheted Pumpkin Decorations
Creating a festive display is easy when you mix textures and sizes. Place ghosts beside crocheted pumpkin decorations on your mantle or table. Small risers or books create different heights for a balanced, appealing display.
Effective crochet decoration care includes rotating display pieces to prevent fading in direct sunlight. Grouping your ghosts with crocheted pumpkin decorations creates a unified holiday theme. Enjoy your unique, handcrafted setup throughout the entire season.
Conclusion
Mastering this Crochet Ghost Pattern unlocks creative possibilities for your home. You can choose quality yarn, use precise stitches, and assemble charming figures that capture the season’s spirit.
These handmade halloween decorations add charm to any shelf or mantel. Customize each face with a friendly smile or silly expression. Add tiny hats or scarves to make every piece match your personal style.
Quick Halloween crafts help you build a festive collection in just a few hours. Group finished ghosts with crocheted pumpkins, or string them into a whimsical garland. These projects will delight visitors and bring handmade magic to your space this October.
FAQ
Is this crochet ghost pattern suitable for a complete beginner?
Absolutely. This project teaches fundamental techniques, including the magic ring, single crochet, and basic increases and decreases. It also helps you practice consistent round counts and tension before trying more complex halloween craft ideas.
What yarn and hook brands do you recommend for these handmade halloween decorations?
For a classic look, use Red Heart Super Saver or Lion Brand Vanna’s Choice in White. Use a Clover Amour 3.5mm (E) or 4.0mm (G) crochet hook. It keeps stitches tight, so fiberfill does not show through the fabric.
How can I coordinate this ghost with a diy crochet pumpkin?
To balance the display, pair your ghosts with a crochet halloween pumpkin made from the same yarn weight. Follow a pumpkin crochet tutorial to make various sizes. This helps crocheted pumpkin decorations and ghosts share a similar “amigurumi” aesthetic in your halloween crochet decor.
Are safety eyes safe to use if I have small children or pets?
Plastic safety eyes look professional but can choke young children or pets. For frequently handled handmade halloween decorations, sew on eyes with Coats & Clark embroidery floss or use small felt pieces. Both options are safer alternatives.
Can I scale this pattern to make a larger ghost or a mini garland?
Yes! For a larger stuffed decoration, use bulky yarn like Bernat Blanket and a larger hook. For mini ghosts, use a lightweight fingerring yarn. This versatility lets you mix ghosts with a crochet pumpkin pattern for diverse textures in seasonal displays.
How do I prevent my ghost from looking lumpy or uneven?
Consistency is key. Use a stitch marker to identify the first stitch of each round. When adding Poly-Fil fiberfill, pull it into small tufts and spread them evenly. This prevents overstretched stitches and keeps your ghost rounded beside crocheted pumpkin decorations.
How should I clean and store my crocheted ghost and pumpkin decorations?
Most acrylic handmade halloween decorations can be spot-cleaned with a damp cloth and mild soap. Store them for next year in a breathable cotton bag or plastic bin. Choose a cool, dry place to prevent crushed or faded fibers.