
Last Updated on October 11, 2026 by recipeinspire
Are you ready to add a spooky touch to your home this October? Creating a handmade Halloween crochet project is a fun way to celebrate the season. This beginner crochet pattern gives crafters of all skill levels simple, clear steps.
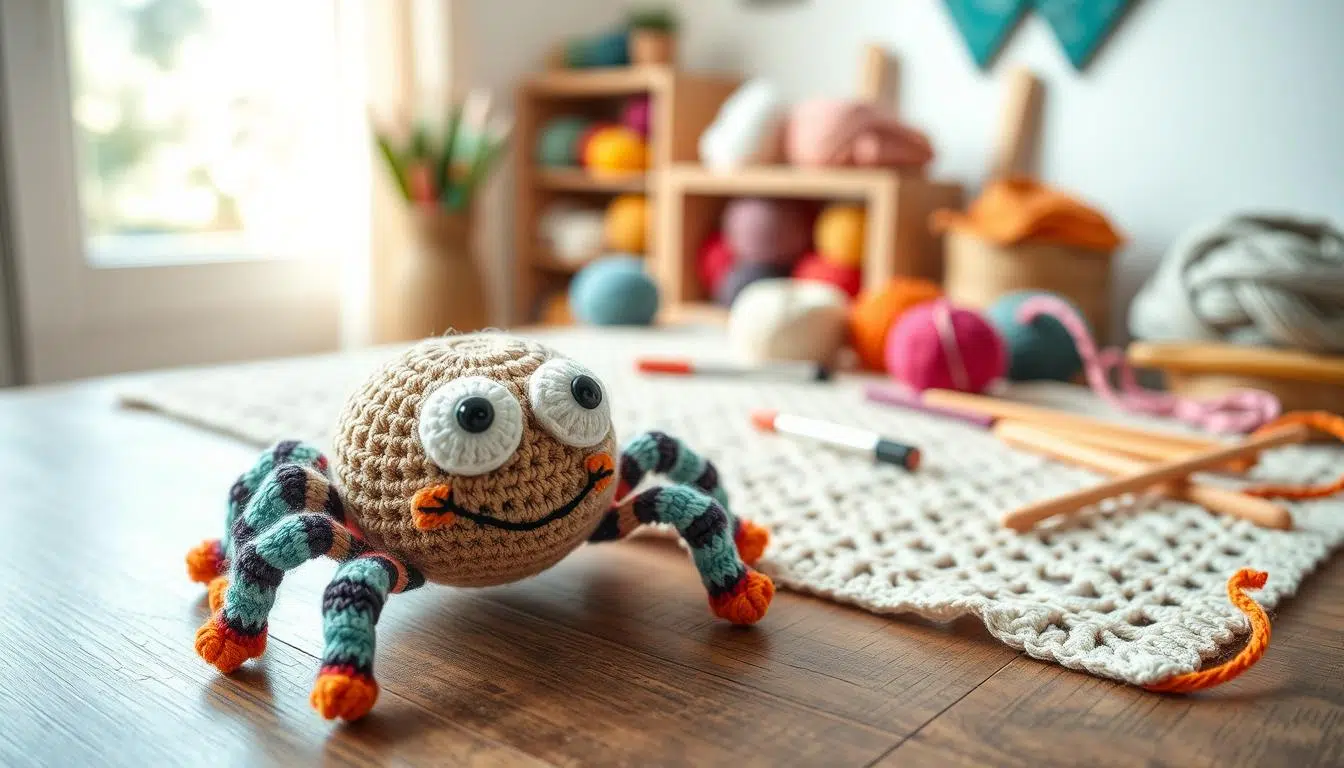
Gather your basic supplies, craft the round body, attach eight spindly legs, and add final details.
Use this easy crochet spider beside a crochet halloween pumpkin or other festive display. Then master your own Crochet Spider Pattern with this guide.
Key Takeaways
- Learn the fundamentals of creating seasonal holiday decor.
- Follow a clear, step-by-step guide designed for beginners.
- Master techniques for building bodies and attaching limbs.
- Discover how to personalize your finished spooky creations.
- Pair your handmade items with other festive seasonal crafts.
What You Need to Make This Crochet Spider Pattern
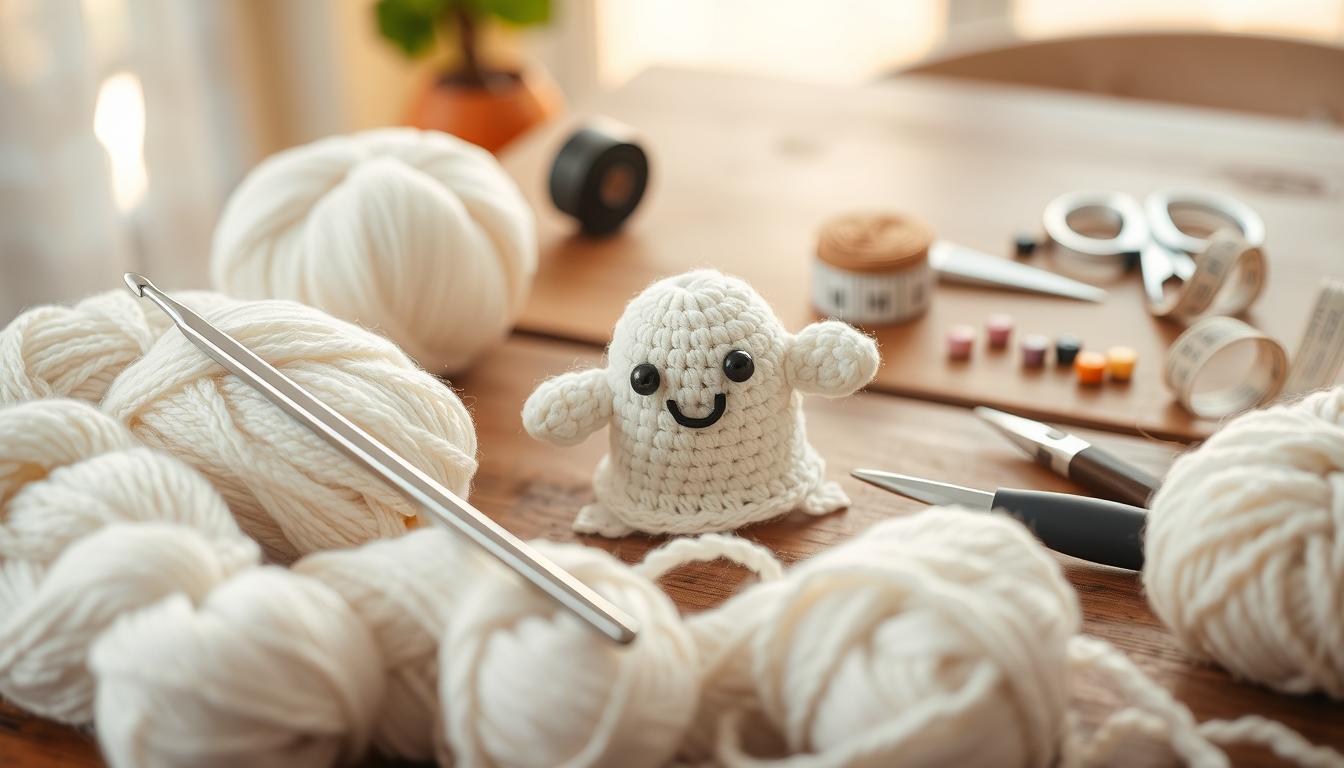
Creating a charming spider needs basic supplies and some preparation. Prepare everything first for a smooth crafting experience. These beginner crochet supplies help beginners and experienced crafters achieve professional results.
Choose Beginner-Friendly Yarn, Hook, and Colors
Select Worsted-Weight Yarn for a Sturdy Spider
worsted-weight yarn is the best choice for this project. This medium-thickness fiber keeps the spider’s body firm and round. Its easy handling helps beginners manage tension while working on a Crochet Spider Pattern.
Pick Black, Gray, or Halloween-Inspired Accent Colors
Choose black or charcoal gray for a realistic spider. Or, try bright oranges or purples to match a crochet pumpkin pattern. High-contrast eyes or legs add a fun, festive touch to seasonal decor.
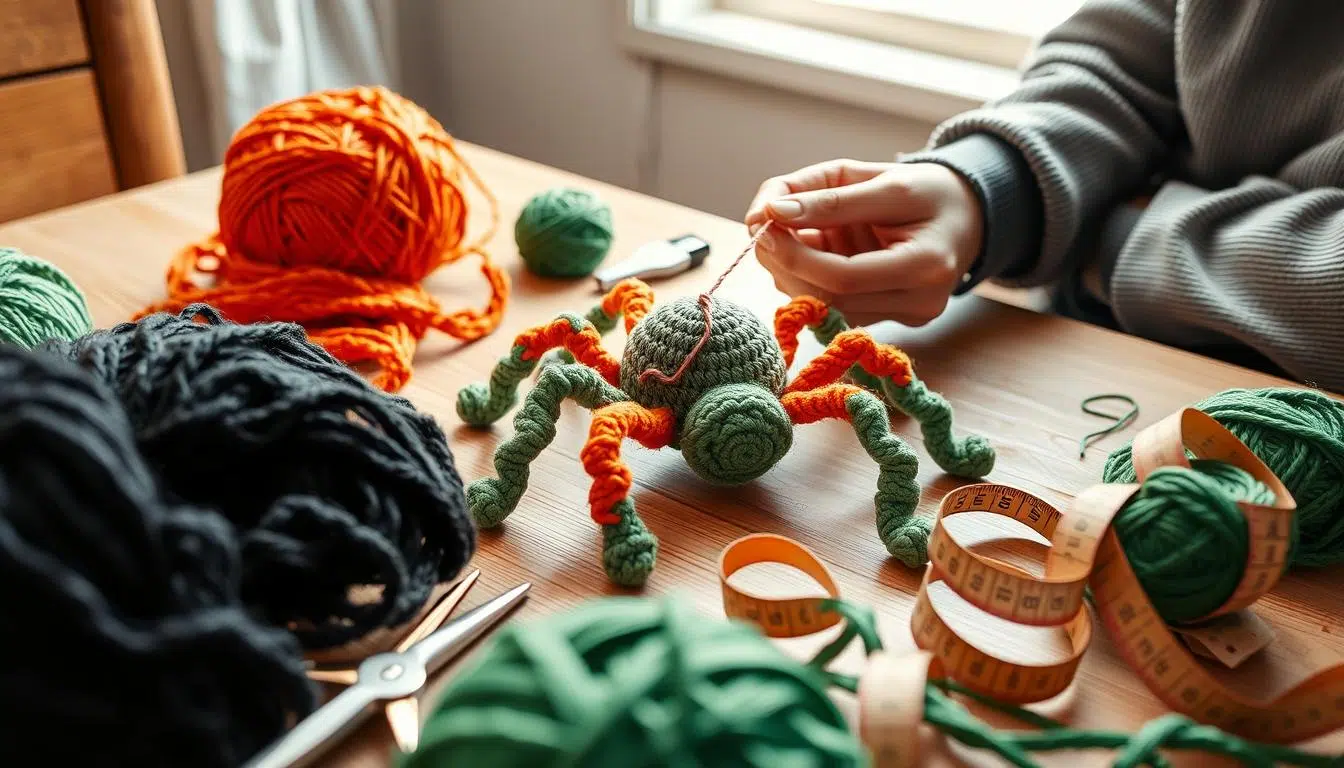
Gather the Required Tools and Supplies
Yarn Needle, Stitch Marker, Scissors, and Fiberfill
Gather a few essential tools to assemble your project. Sharp scissors make clean cuts, while a yarn needle weaves in loose ends. Keep these items nearby:
- Stitch marker to track your rounds accurately.
- Fiberfill stuffing to give the spider its shape.
- A crochet hook that matches your yarn weight.
Optional Safety Eyes and Embroidery Thread
Use plastic safety eyes to give your spider personality. They snap into place easily and create a polished finish. Embroidery thread can create a small mouth or decorative patterns on the back.
Understand the Crochet Abbreviations and Basic Stitches
Chain, Slip Stitch, Single Crochet, Increase, and Decrease
Learn common crochet abbreviations to follow the instructions more easily. Most of this project uses single crochet, which creates dense fabric. Use increases and decreases to shape the body and legs effectively.
How to Read Continuous-Round Instructions
This Crochet Spider Pattern uses continuous rounds instead of joined rows. You will not slip stitch at the end of each round. Move your stitch marker as you work to track progress without a visible seam.
Prepare the Spider Body and Begin the Crochet Spider Pattern
A sturdy base helps create a successful Crochet Spider Pattern. Steady tension makes your finished project strong and polished.
Step 1: Create the Starting Ring
Make a Magic Ring or Use a Chain-Based Alternative
Most crafters prefer the magic ring crochet technique because it creates a seamless, tight center. Pull the yarn tail firmly to close the middle gap.
“A well-crafted start is the secret to a professional-looking amigurumi project.”
Work Single Crochet Stitches Into the Center
After securing the ring, work single crochet stitches into the loop. Keep steady tension so the stitches stay neat and firm. This foundation supports the entire piece.
Step 2: Build the First Body Rounds
Increase Evenly to Form a Rounded Shape
Increase the stitch count in each round to expand your work. Add stitches at regular intervals for a smooth, round surface. This gives the crochet spider body its plump shape.
Use a Stitch Marker to Track the Beginning of Each Round
Working in continuous crochet rounds can make the starting point hard to track. A stitch marker keeps you organized and prevents counting errors. Move the marker up after each new layer.
Step 3: Check the Size and Shape as You Crochet
Keep the Stitches Tight Enough to Hold Fiberfill
For halloween crochet decor, keep stuffing from showing through the gaps. Use a hook slightly smaller than the yarn label recommends. This creates dense fabric that holds its shape.
Correct Uneven Increases Before Continuing
If your piece looks lopsided, undo the last few stitches. Fixing an uneven increase early is easier than hiding it later. Inspecting your work helps ensure a high-quality result.
- Check your stitch count after every round.
- Ensure the fabric feels firm to the touch.
- Adjust your tension if the stitches appear too loose.
Shape, Stuff, and Close the Crochet Spider Body
Turning a flat crochet piece into a three-dimensional spider is rewarding. Proper crochet body shaping helps it look professional and keep its form over time.
Step 4: Crochet the Middle and Lower Body Rounds
Work Even Rounds Without Increasing
To build your spider’s height, work several rounds without adding stitches. This keeps the piece’s width steady while the walls rise.
Create a Plump Oval or Round Spider Shape
These even rounds define the creature’s overall shape. This stage of the Crochet Spider Pattern creates a plump look for a diy crochet pumpkin display.
Step 5: Add Fiberfill Without Overstuffing
Fill Small Sections Gradually for an Even Surface
When you reach the body’s middle, add your crochet amigurumi stuffing. Add small clumps to prevent lumps from forming outside.
Leave Enough Flexibility for Attaching the Legs
Do not pack the body too tightly. A slightly flexible body makes sewing the legs easier without distorting your Crochet Spider Pattern.
Step 6: Decrease and Finish the Body
Close the Opening With Neat Decrease Rounds
After filling the body, use a crochet decrease to narrow the opening. Work carefully so the closure stays tight and keeps stuffing inside.
Weave In and Secure the Yarn Tail
After the final crochet decrease, cut your yarn and pull the tail through the last loop. Use a tapestry needle to weave the remaining yarn into the body. This creates a polished finish and supports durable crochet body shaping for your Halloween decor.
Crochet and Attach the Spider Legs
With the body complete, add its most iconic feature: the legs. These limbs create a recognizable eight-legged crochet spider for any seasonal display.
Step 7: Make Eight Matching Legs
Chain and Single Crochet Each Leg to the Desired Length
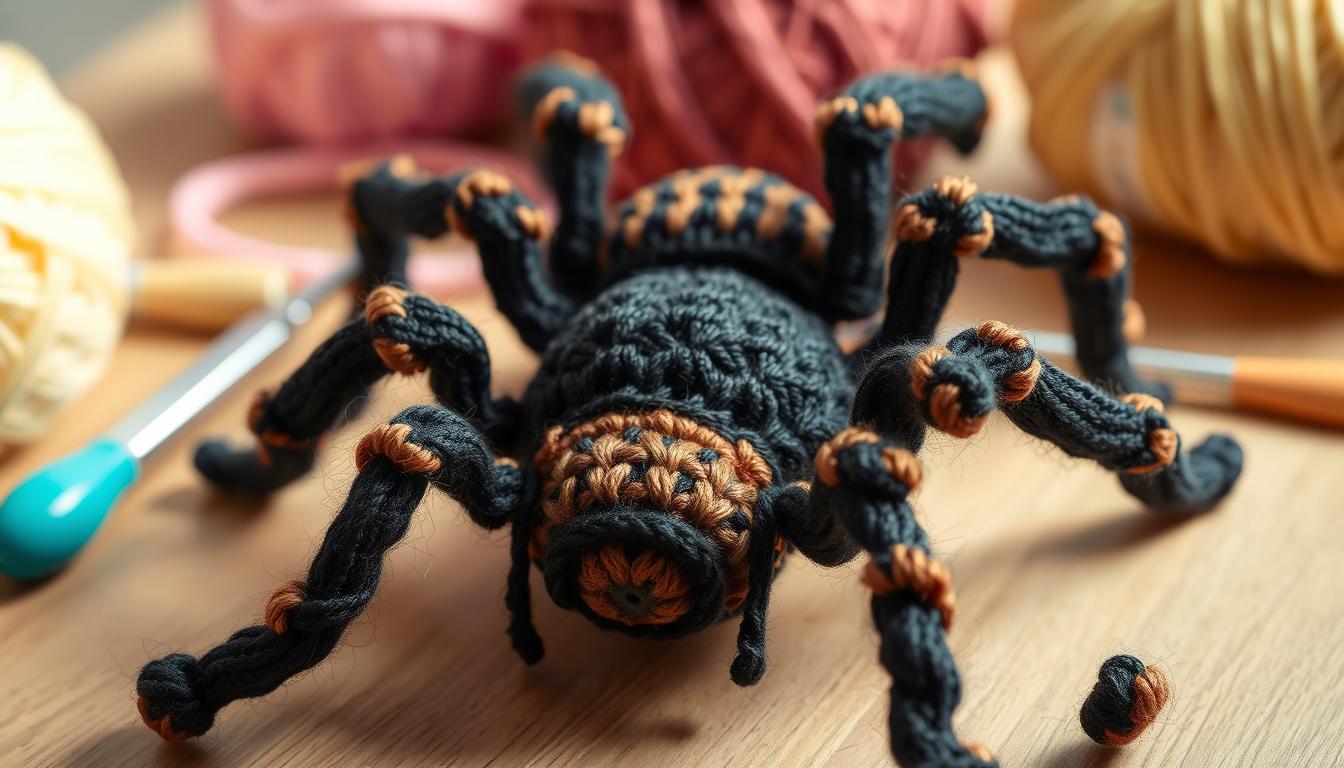
Make eight separate pieces. Chain the desired number of stitches, then single crochet back along each chain. This creates sturdy crochet spider legs for your Crochet Spider Pattern.
Use Shorter Legs for a Miniature Spider and Longer Legs for Decor
Adjust the chain length to change your spider’s size. Shorter legs suit small, handheld toys, while longer legs suit large pieces in a pumpkin crochet tutorial.
Step 8: Shape the Legs for a Natural Spider Pose
Bend, Twist, or Lightly Stuff the Legs
After finishing the pieces, shape them for a realistic look. Gently bend or twist the yarn so each leg holds a curved, natural pose. This keeps the legs from hanging straight down.
Keep the Legs Consistent in Thickness and Length
Consistency creates a professional finish. Use the same stitch count for all eight legs. This keeps your spider balanced and symmetrical.
Step 9: Sew the Legs Securely to the Body
Space Four Legs Along Each Side
Position the legs carefully before sewing them in place. Space four legs evenly along each side for the correct anatomy of an eight-legged crochet spider.
Reinforce Each Attachment Point With Multiple Stitches
Use a tapestry needle to sew each leg firmly to the body. Reinforce each attachment point with multiple stitches. This helps prevent the legs from pulling away during play or display.
Safety Check for Loose Yarn and Small Parts
Secure Embellishments Before Giving the Spider to a Child
For younger users, choose child-safe crochet techniques. Check that every yarn end is woven in tightly. Also, make sure no small parts can detach easily.
Use Embroidered Eyes Instead of Safety Eyes for Young Children
Avoid plastic safety eyes because they can cause choking. Instead, use embroidery thread to stitch simple, expressive eyes directly onto the face of your Crochet Spider Pattern.
Finish the Face and Add Halloween Details
Facial features and decorative accents turn a simple shape into a charming character. This final stage of your Crochet Spider Pattern lets you show creativity and create a polished piece. Choose a spooky or friendly look; small details make a big difference.
Step 10: Add Eyes and Facial Features
Position Safety Eyes Before Closing the Body Completely
If you use plastic safety eyes, insert them before finishing the stuffing. Place them securely between the head’s rounds so they look symmetrical. Always double-check the placement before snapping on the washers; they are hard to remove afterward.
Embroider Eyes, Fangs, or a Smile for a Child-Safe Finish
For a soft, child-safe option, an embroidered crochet face works well. Use black yarn or embroidery floss for simple eyes, a tiny smile, or sharp fangs. This method removes small parts that could choke younger children.
Add Stripes, Spots, or a Contrasting Belly
Use Surface Crochet or Embroidery for Simple Patterns
You can improve your handmade halloween decorations with unique textures or patterns. Surface crochet creates bold stripes or spots directly on the finished body. Simple satin stitches can add a contrasting belly and make your spider stand out.
Combine Orange, Purple, White, and Green for Halloween Colors
Classic Halloween crochet colors help your project match its seasonal theme. Try bright orange, deep purple, or bright green against a black or white body. These combinations are easy to recognize and add a festive touch to any room.
Shape and Inspect the Finished Spider
Adjust the Legs and Smooth the Body
After assembling your finished crochet spider, pose the legs. Gently bend them into a natural crawling stance that gives the piece character. Massage the body to spread the fiberfill and keep its shape even and firm.
Trim Loose Ends and Hide All Yarn Tails
Secure your work by weaving in all remaining yarn tails. Use a tapestry needle to pull each end deep inside the body, keeping it hidden. Carefully trim any excess yarn so your spider looks clean, polished, and ready for display.
Use Your Handmade Spider in Halloween Crochet Decor
Your finished spider makes a striking centerpiece for creative Halloween display ideas. Adding your Crochet Spider Pattern to your home brings handmade charm to your halloween crochet decor. These small touches can transform your seasonal style.
Pair the Spider With a Crochet Halloween Pumpkin
Place It Beside a Crochet Pumpkin Pattern Project
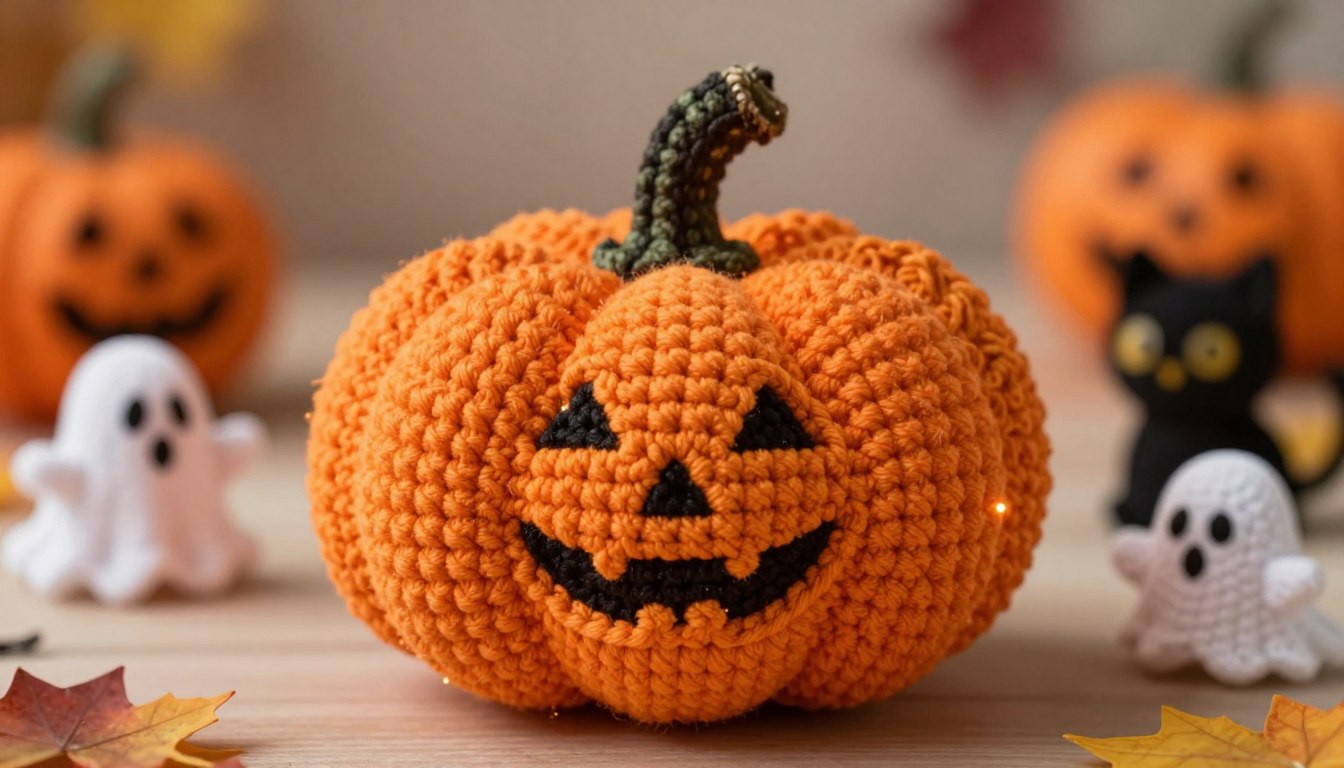
Pair your spider with a crochet halloween pumpkin for a unified look. Place it beside a finished crochet pumpkin pattern project on a shelf or side table. The pairing contrasts soft yarn textures with the spooky theme.
Create a Spooky Tabletop Display With a DIY Crochet Pumpkin
For an elaborate display, arrange several spiders around a large diy crochet pumpkin. This whimsical scene captures the holiday spirit. Grouping items of different heights adds visual interest to any flat surface.
Turn the Spider Into Versatile Handmade Halloween Decorations
Attach a Loop for a Garland, Wreath, or Hanging Ornament
Attach a simple yarn loop to the spider’s back to make it a hanging piece. Then add it to a festive garland or hang it directly on a wreath. These handmade Halloween decorations are light and easy to display anywhere.
Use Several Sizes for a Mantel, Porch, or Party Table
Make spiders in various sizes for more decorating choices. Place larger versions on your porch to greet guests, and scatter smaller ones across a party table. Different scales help fill empty spaces on a mantel or bookshelf.
Care for and Store Crocheted Pumpkin Decorations and Spiders
Dust Softly and Spot-Clean Handmade Pieces
Keep your crocheted pumpkin decorations and spiders fresh by dusting them softly with a clean, dry cloth. For stains, use a damp cloth with mild soap to spot-clean the area. Always allow the yarn to air dry completely before putting it back on display.
Store Finished Decorations in a Dry, Protected Container
When the season ends, place your items in a dry, airtight container to limit dust. Keep it in a cool, dark place to protect the yarn colors from fading. Proper storage helps your hard work last for many years.
Conclusion
Mastering this Crochet Spider Pattern unlocks creative options for your home. You can turn simple worsted-weight yarn into a charming creature with basic stitches and careful assembly.
This project is a perfect starting point for beginner Halloween crochet. Use the starting ring, precise stuffing, and secure leg attachment to make a durable piece. It can last for many seasons.
Embroidered eyes provide a safe option for homes with small children. These spiders suit your collection of handmade seasonal decor. Display them on tabletops, tuck them into garlands, or perch them on wreaths.
Explore new halloween craft ideas with different yarn textures or bold color palettes. Your unique creations add a personal touch to every corner of your living space. Share your finished work with fellow crafters to inspire their spooky projects this year.
FAQ
What type of yarn is best for a beginner-friendly crochet spider?
For beginners, choose a worsted-weight yarn like Red Heart Super Saver or Lion Brand Vanna’s Choice. These yarns are sturdy, widely available, and make stitches easy to see. They help your handmade halloween decorations hold their shape while staying soft for seasonal displays.
How do I ensure the spider body remains round and plump?
The key is using consistent increases during the first few rounds, then working even rounds to build height. As with a pumpkin crochet tutorial, use a stitch marker to track each continuous round. Add fiberfill stuffing gradually to prevent lumps and create a smooth surface for your halloween crochet decor.
Can I customize the spider to match my other Halloween decorations?
Absolutely; traditional colors include black and gray, but orange, purple, or bright green can match a crochet halloween pumpkin. Add stripes or a contrasting belly with surface crochet or embroidery to create one of many great halloween craft ideas.
What basic stitches are required for this crochet spider pattern?
This pattern uses five basic stitches: chain (ch), slip stitch (sl st), single crochet (sc), increase (inc), and decrease (dec). If you have used a crochet pumpkin pattern, these techniques will seem familiar. They build most amigurumi-style projects.
How do I attach the eight legs so they stay secure?
After crocheting eight matching legs, space them evenly, with four on each side of the body. Use a yarn needle to sew them into the body, reinforcing each point with multiple stitches. Unlike static crocheted pumpkin decorations, you can bend or twist these legs for a more realistic, “creepy-crawly” pose.
How can I make this crochet spider safe for young children?
Safety matters for handmade toys. Instead of plastic safety eyes, which can choke children, embroider the eyes and facial features with black or white embroidery thread. Securely weave in all yarn tails, and double-stitch the legs to the body so they do not pull loose during play.
How should I display my finished spider with my other seasonal crafts?
Place your spider beside a diy crochet pumpkin for a spooky tabletop centerpiece. You can also attach a yarn loop to its back, turning it into a hanging ornament for a wreath or garland. This creates a cohesive look for your handmade halloween decorations.
What is the best way to clean and store my crocheted decorations?
Keep your spiders and crocheted pumpkin decorations fresh by dusting them with a soft brush. You can also spot-clean them with a damp cloth and mild soap. After the season, store them in a dry, airtight container to protect the fibers from dust and moisture until next Halloween.