Last Updated on September 26, 2025 by recipeinspire
Table of Contents
Halloween Cake Pops
Cake pops are one of the best Halloween party treats: portable, customizable, and easy to serve to kids or adults. This guide walks you through everything — tools & ingredients, step‑by‑step technique, fixes for the most common problems, eight spooky decorating ideas (ghosts, eyeballs, mummies, bloody red velvet and more), make‑ahead tips, presentation ideas, and links to ready-to-bake recipes.
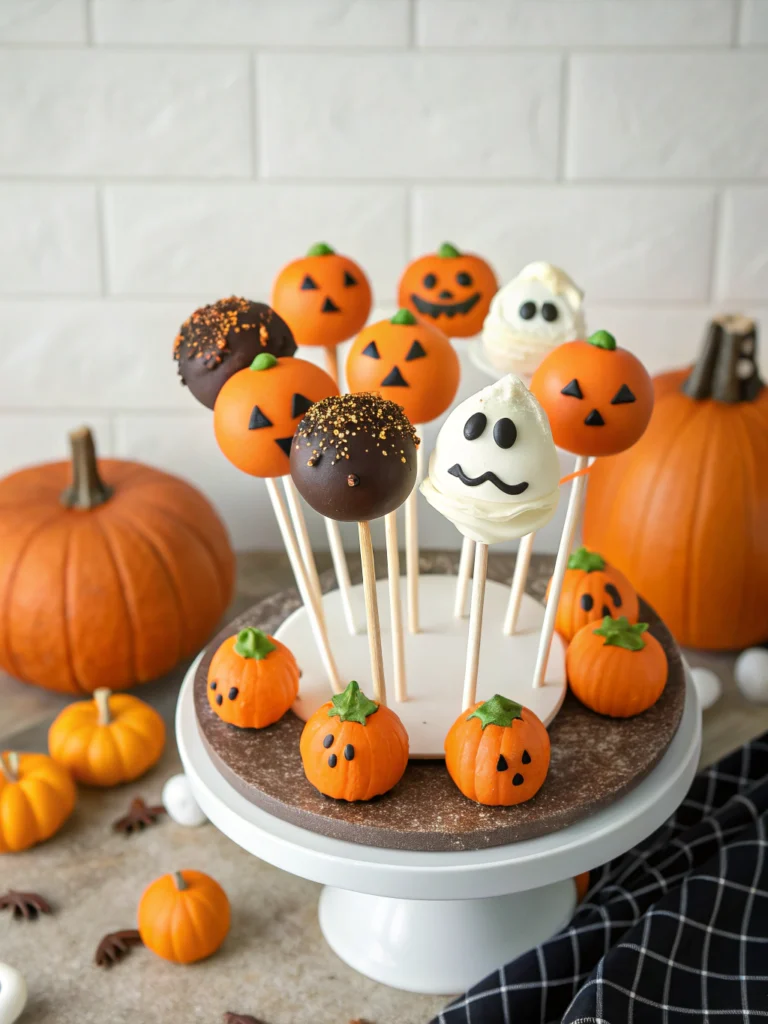
By the end you’ll be able to produce a full tray of themed cake pops that look professional and travel well.
Why Cake Pops Work for Halloween
- Portable & portion-controlled: perfect for classroom parties or a grab-and-go dessert table.
- Visually versatile: small canvas lets you create eyeballs, ghosts, monsters, and gore with just a few tools.
- Good for batch prep: bake once, decorate many ways.
Tools & Ingredients (Quick Checklist)
Tools
- Cake pop sticks or lollipop sticks
- Candy melts or tempered chocolate
- Microwave-safe bowls or double boiler
- Styrofoam block or cake-pop stand for drying
- Piping bags or squeeze bottles
- Toothpicks and small offset spatula
- Small silicone molds (optional) for uniform shapes
Ingredients
- Cake (store-bought or from a boxed mix) — cooled
- Frosting (buttercream or cream cheese; enough to bind)
- Candy melts or chocolate (white, black, orange; colored melts are convenient)
- Edible eyes, sprinkles, red gel, black icing pens
Optional/Decor Add-ons
- Lollipop sticks with colored stripes
- Disco dust or edible glitter
- Melted dark chocolate for details
Step‑by‑Step Technique (Make 24–30 cake pops)
- Bake the cake — use a dense cake for best results (cheesecake-style or boxed yellow/chocolate works). Let it cool completely.
- Crumble & mix — crumble the cake into a large bowl until fine crumbs. Add 3–5 tablespoons of frosting at a time and mix until the crumbs hold together when squeezed (you want a moldable but not sticky ball).
- Shape — roll 1–1.5 inch balls between your palms. For eyeballs, make slightly smaller and smooth; for monsters, slightly irregular shapes can add character.
- Chill — place shaped balls on a baking sheet lined with parchment and chill for at least 30 minutes (or freeze 10–15 minutes). This helps them firm up.
- Insert stick — dip the tip of the stick into melted candy, then push halfway into each chilled cake ball; this glue helps the cake pop stay on the stick. Chill for 10 minutes to set.
- Coat — warm your candy melts to a smooth dipping consistency. Gently dip the cake pop in the melts, tapping off excess and rotating to smooth.
- Decorate — add details while coating is still tacky (sprinkles, edible eyes). Use penciled chocolate or piping to draw veins, mouths, and other features.
- Dry & display — place pops into a styrofoam block or stand to dry upright.
Troubleshooting common issues
- Cracking coating: Coat too-cold cake pops (let them sit 5–10 minutes after removing from fridge) or candy too-thick. Thin candy melts with a small amount of vegetable oil or melting wafers.
- Pops falling off the stick: Push stick only halfway and use a small dab of melted candy as glue before inserting; chill well before dipping.
- Soggy center: Don’t use a wet frosting; use just enough to bind. Overmixing can make them dense — aim for a light, compact ball.
8 Spooky Cake Pop Designs (with short how‑tos)
Halloween Cake Pops
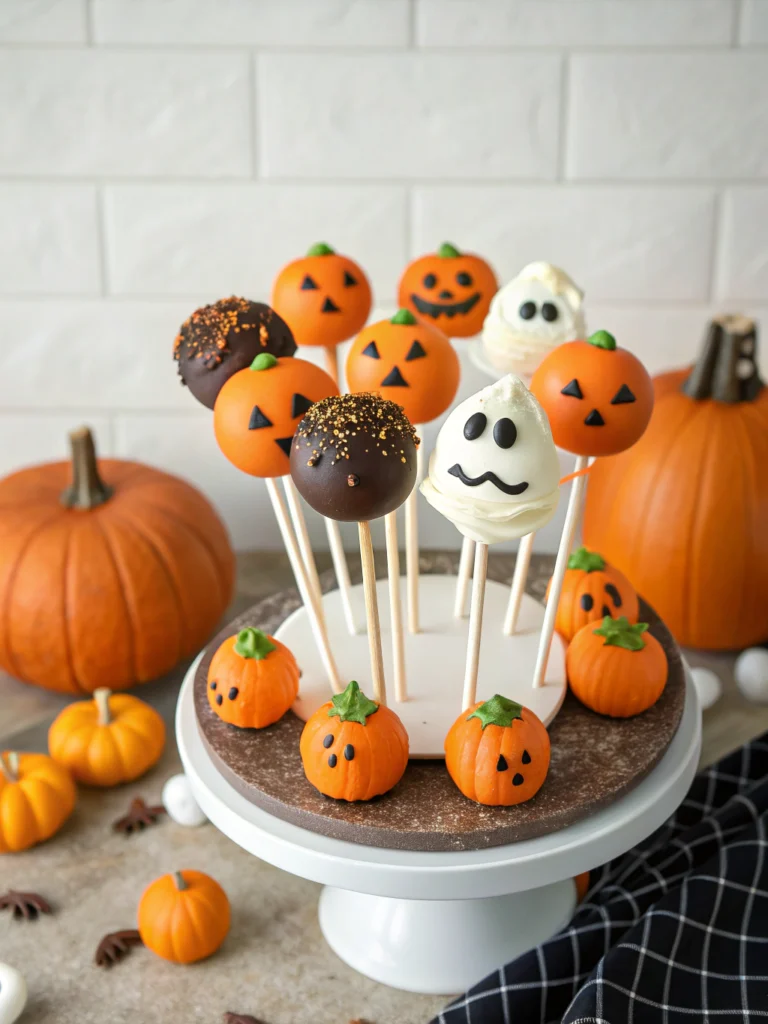
Classic Halloween cake pops are dipped in white candy melts and finished with simple black-icing faces. This version is perfect for beginners — dip, add eyes and a mouth with an edible marker, and display on a dark platter for high contrast.
View Full RecipeEyeball Cake Pops
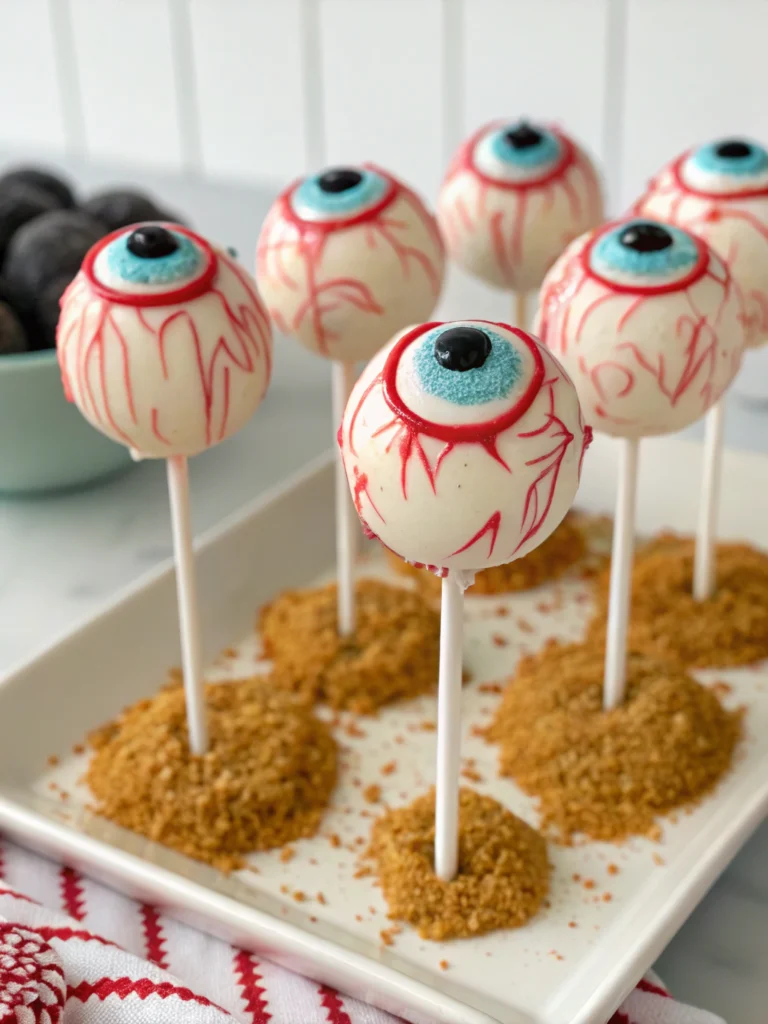
Eyeball Cake Pops use a white-coated base and a dab of colored melts for the iris and a dark dot for the pupil. For better-looking halloween cake pops, paint fine red veins with candy gel and a toothpick to make the eye pop.
View Full RecipeFudgy Brownie Candy Apple Pops
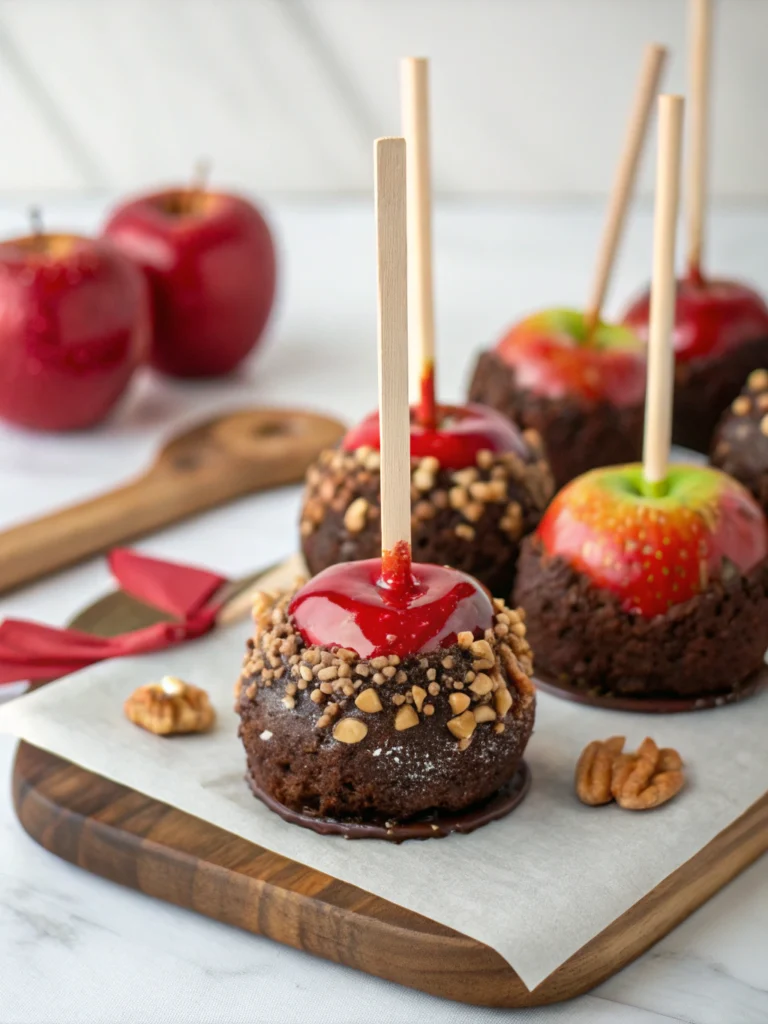
Fudgy Brownie Candy Apple Pops pair dense brownie crumbs with a candy-apple coating — a great twist on classic halloween cake pops that adds chewiness and caramelized flavor. Dip in tempered chocolate for a glossy finish and sprinkle chopped nuts if desired.
View Full RecipeBloody Red Velvet Cake Pops
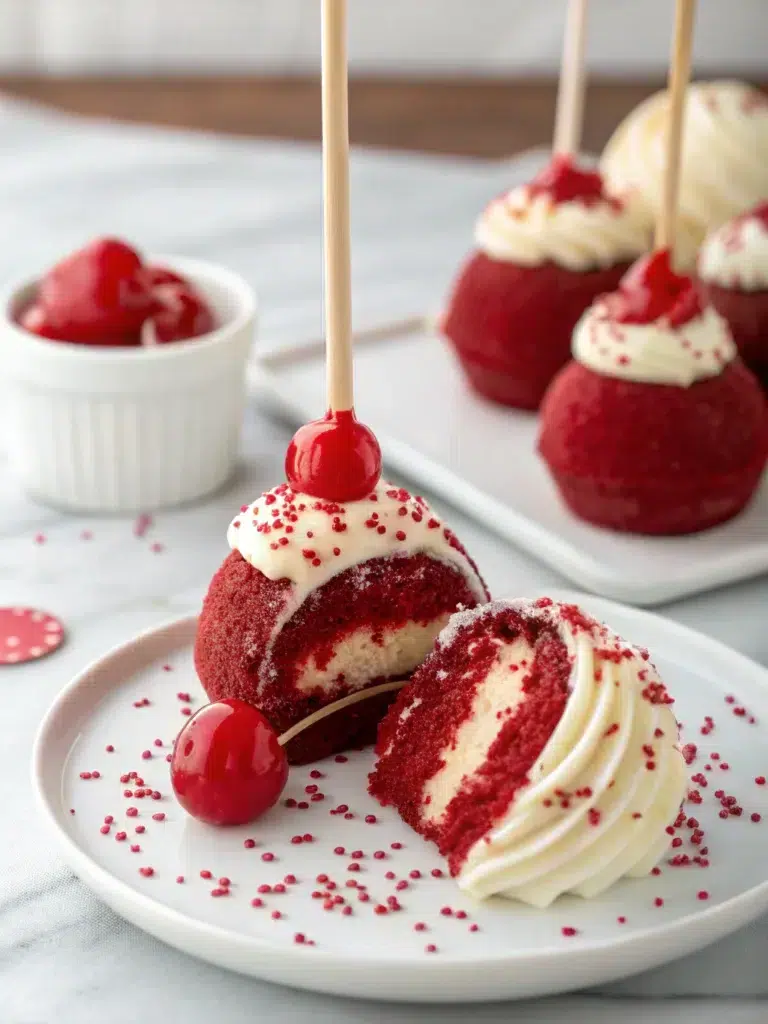
Bloody Red Velvet Cake Pops start with red-velvet crumbs and cream-cheese binder; after coating, add a streak of red piping gel for a gory bite effect. These dramatic halloween cake pops are crowd-pleasers for an adult table.
View Full RecipeGhost Cake Pops
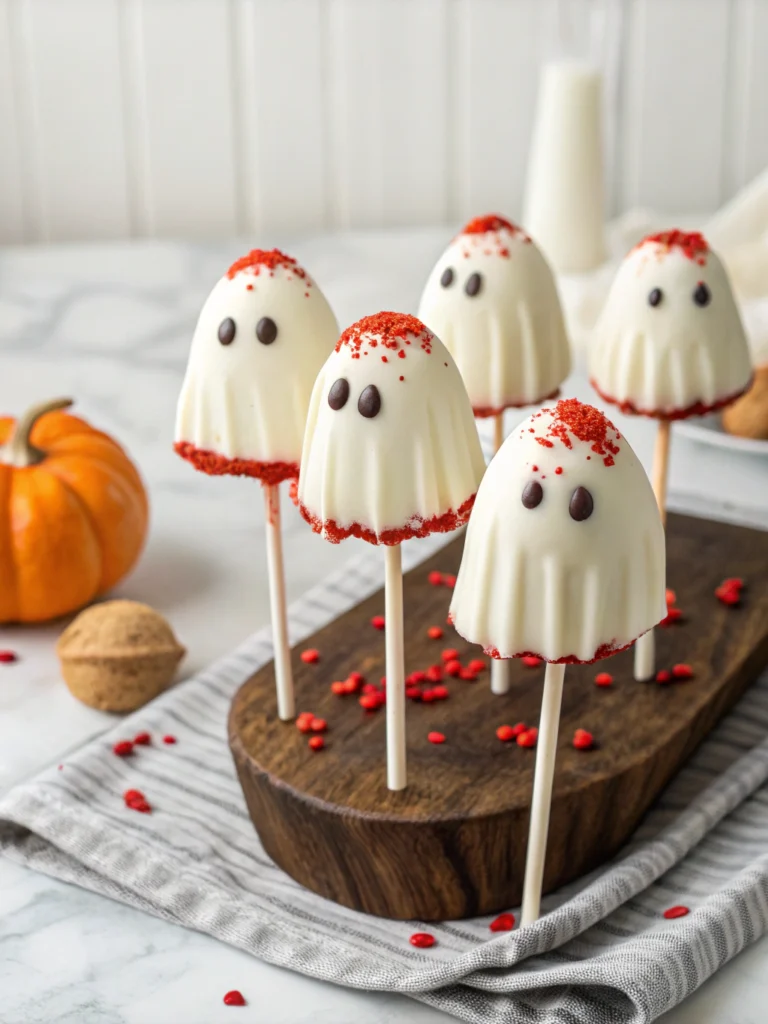
Ghost Cake Pops are simple: white coating, two black eyes, and an oval mouth. They’re the fastest way to produce dozens of themed halloween cake pops for classroom parties or a candy buffet.
View Full RecipeEasy Halloween Cake Pops Recipe
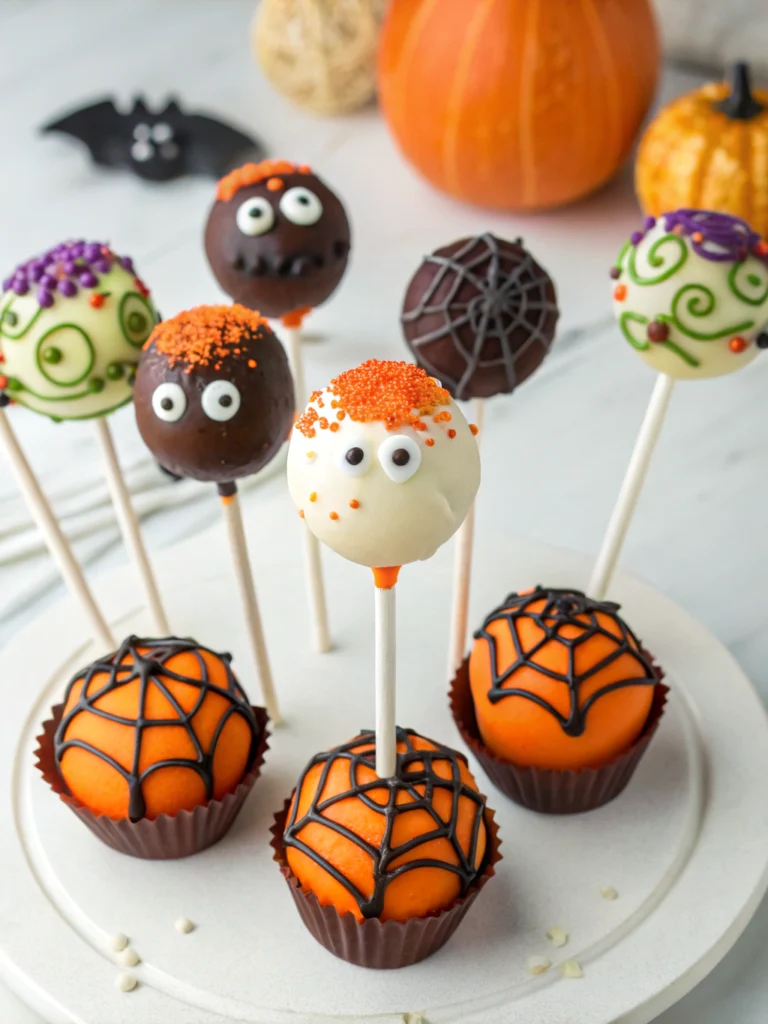
The Easy Halloween Cake Pops Recipe focuses on speed and consistency — use a boxed cake and pre-colored candy melts to churn out uniform pops. This approach makes scaling halloween cake pops for big groups simple and stress-free.
View Full RecipeMonster Eyeball Cake Pops
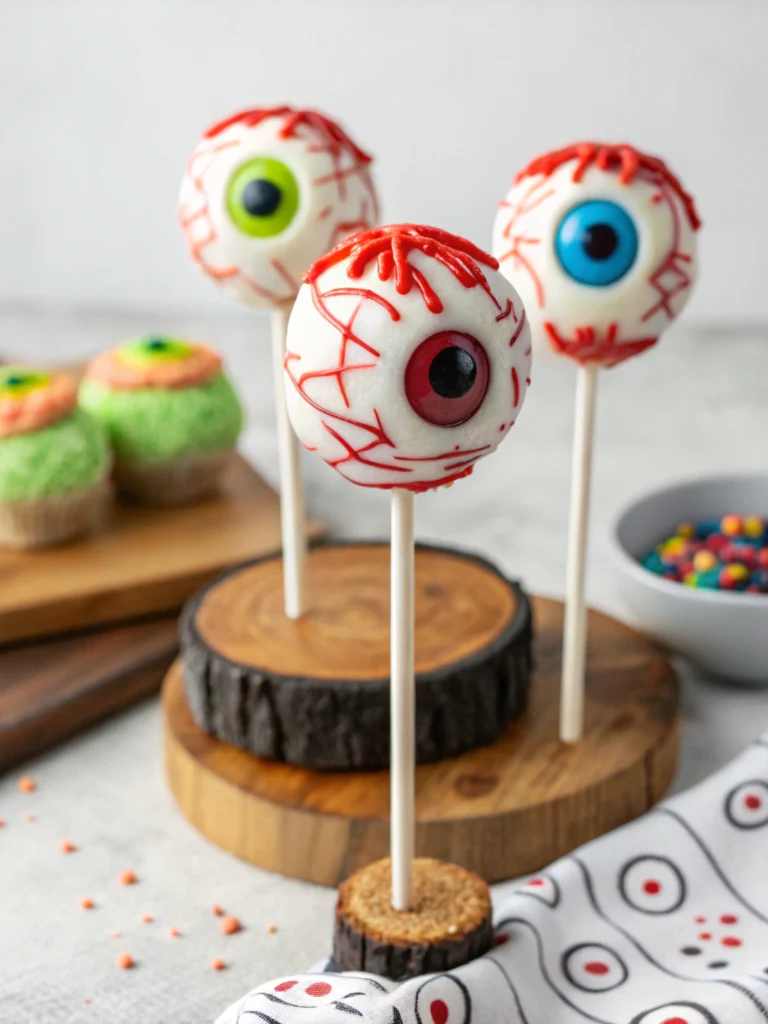
Monster Eyeball Cake Pops add bold color and texture: tint the coating green or orange, attach a fondant eyelid or candy ring, and finish with a piped pupil. These playful halloween cake pops are great for a kids’ party centerpiece.
View Full RecipeHalloween Cakesicles
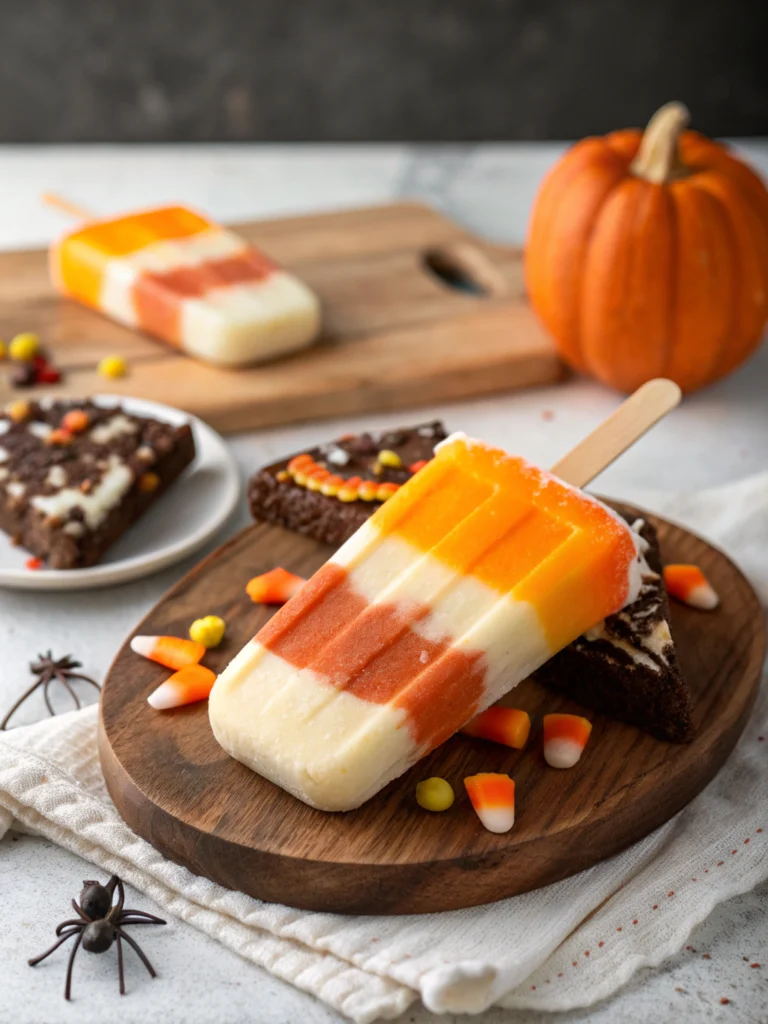
Halloween Cakesicles borrow the cake-pop technique but use molds for a popsicle shape; they work as larger, showier halloween cake pops alternatives. Fill molds with cake-frosting mix, freeze, then dip and decorate like pops.
View Full RecipeMake‑Ahead & Storage Tips
- Make ahead: Cake pops keep best if made 24–48 hours ahead. Store in a single layer in an airtight container at room temperature (not fridge) once the coating is fully set. Refrigeration can cause condensation that blurs decorations.
- Freezing: Freeze uncoated cake balls on a tray, then transfer to an airtight container; thaw in the fridge before dipping.
- Transport: Use a cake-pop box or a shallow box with cutouts to keep sticks upright. For long travel, individually wrap in clear cello bags and tie.
Presentation Ideas & Serving
- Display tray on a black or mirrored platter for contrast.
- Use a foam block wrapped in festive paper as a base for an upright display.
- Combine with themed signage: “Eye-popping Treats” or “Beware: Freshly Baked!”
- Hand out in cellophane bags with a sticker for classroom-safe portioning.
Printable Shopping List (Quick)
- Cake mix or ingredients for 1 cake (9″ pan)
- 1 cup buttercream or 8 oz cream cheese frosting
- Candy melts: white, black, orange (1–2 cups each)
- 24–36 cake pop sticks
- Edible eyes, sprinkles, piping bags
FAQs
Can I use store-bought cake?
Yes — store-bought sheet cake or boxed cake works fine. Crumble it very finely so the binder mixes evenly.
How much frosting should I use to bind?
Start with 3 tablespoons per cake (9″ cake) and add 1 tablespoon at a time until the mixture holds together when squeezed but is not sticky.
Should I refrigerate cake pops after coating?
No — avoid refrigeration after coating unless your kitchen is warm. Condensation from refrigeration can make the coating streak or soften.
Can I make them vegan or gluten-free?
Yes — use a vegan cake and dairy-free candy melts, or a gluten-free cake mix. Texture may vary slightly — chill longer before dipping.
How do I attach decorations that won’t stick?
Use a small dab of melted candy as glue. For heavier decorations, press them in while the coating is still tacky and chill to set.

